Course Introduction
GETTING STARTED
🎉 Self Introduction
Hi everyone, I'm your teacher WTOM. In this tutorial, I will show you guys how to use ChainIDE to develop a dApp that allows only whitelisted users to mint NFTs. This tutorial requires some knowledge of Solidity, TypeScript, and React, but don't worry, I'll help you pick up these skills in the upcoming lessons.
🎓 What is ChainIDE?
ChainIDE is a cloud-based IDE for developing decentralized applications supporting various blockchains such as Ethereum, BNB Chain, Polygon, Conflux, Nervos, Dfinity, Flow, Aptos, etc.
It comes pre-populated with the necessary plug-ins for development, as well as modules for writing, compiling, debugging, testing, and deployingスマートコントラクト. Therefore, you can start coding right away without having to build a complex environment.
🧱 What we are building
We want to build an NFT minting page but only allow certain people to claim the NFTs.
To elaborate, the dApp will allow users to connect their Metamask wallets, and only users on the whitelist will have access to Mint. Once users finish minting, they can resell these NFTs on the NFT secondary market or hold them. That's a small summary of what we're going to do in this lesson.
This is the mint page:

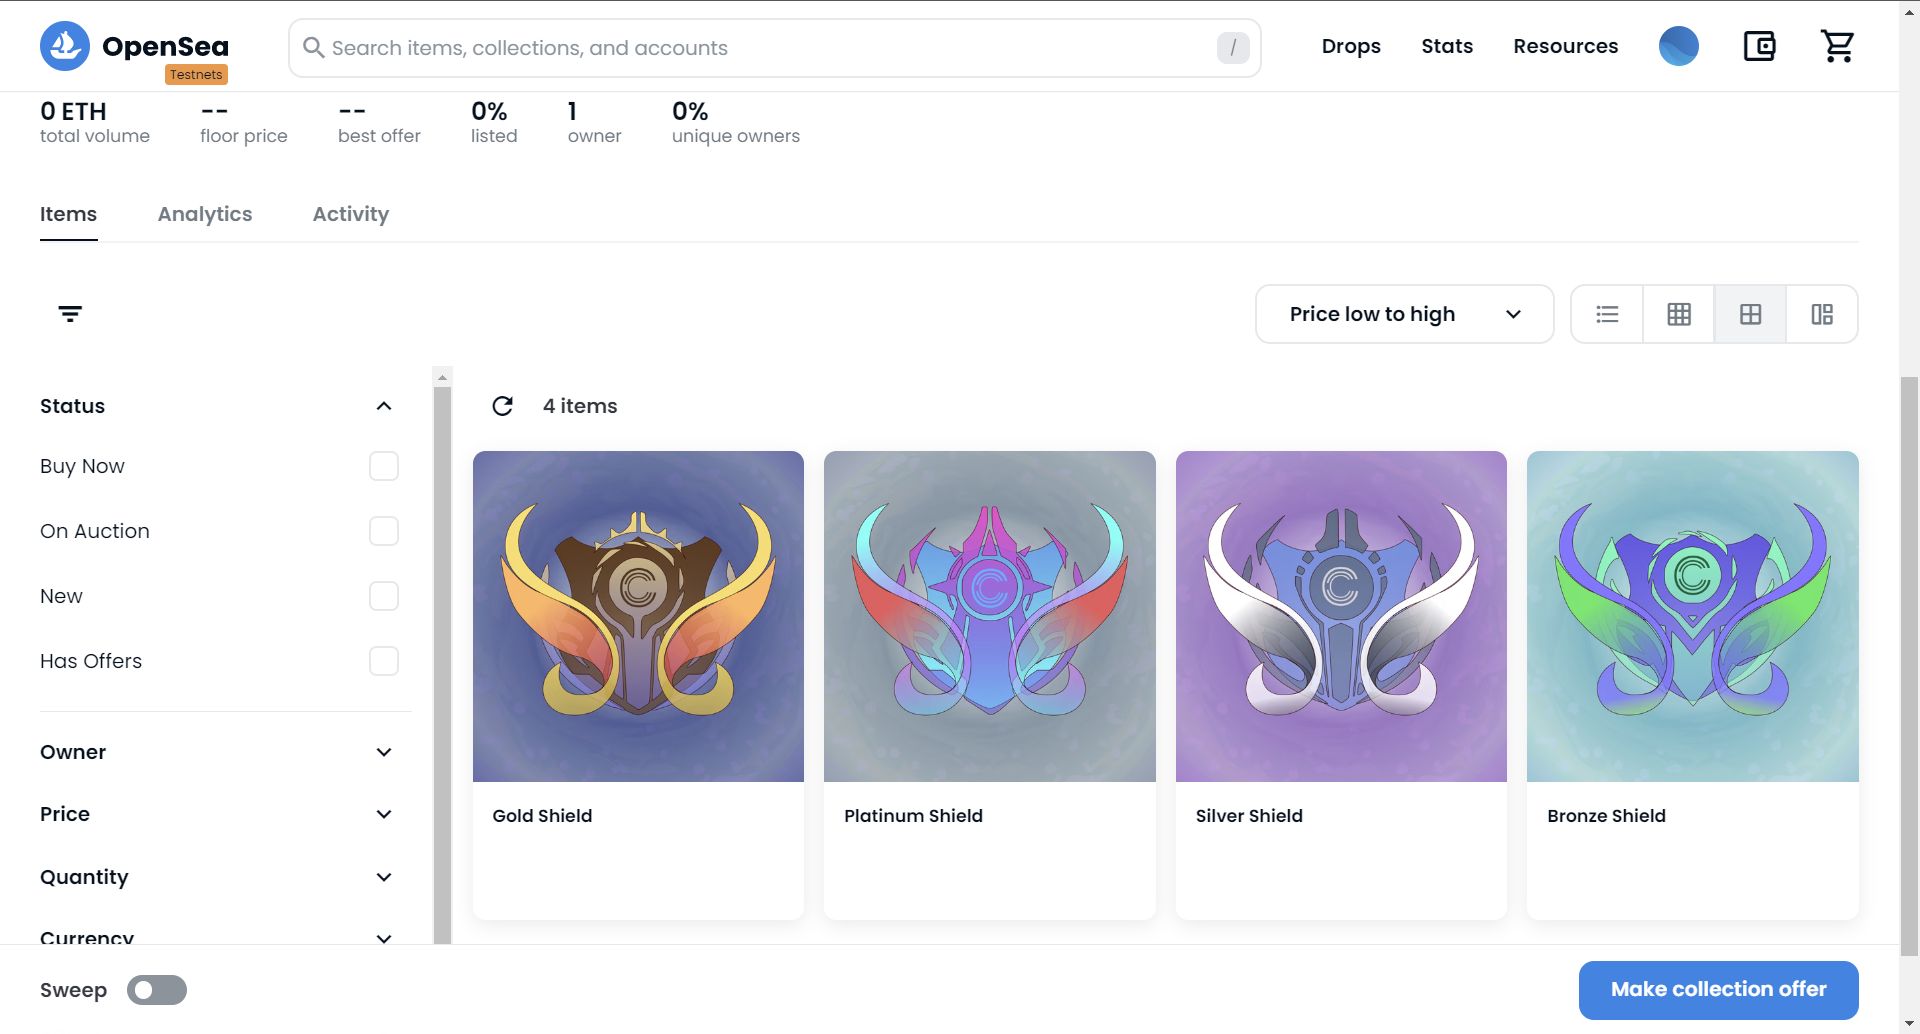
This is how it looks like on OpenSea once we finished:
🌍 Upgrading this project
This learning content is operated underUNCHAIN License.
If you're participating in the project and think, 'This could be clearer if done this way!' or 'This is incorrect!', please feel free to send a pull request.
To edit code directly from GitHub and send a pull request directly, see here.
Any requests are welcome 🎉.
You can also Fork the project to your own GitHub account, edit the contents, and send a pull request.
- See here for instructions on how to
Forka project. - How to create a
pull requestfrom aForkis here.
👋 Send a pull request to UNCHAIN-projects! ⏩ Visit UNCHAIN's GitHub!
⚡️ Create an Issue
If you feel that you want to leave a suggestion but not enough to send a pull request, you can create an Issue at here.
See here for information on how to create an Issue).
Creating pull request and issues is an important task when actually developing as a team, so please try it.
Let's make the UNCHAIN project better together ✨.
🧰 Preparation
🛠 Setup MetaMask wallet
Install MetaMask
When we deploy a smart contract to the blockchain or interact with a deployed smart contract, we need to pay for gas. Therefore, we need a web3 wallet, such as MetaMask. Click here to install MetaMask.here
Add Polygon Amoy to MetaMask
Polygon is a decentralized Ethereum Layer 2 blockchain that enables developers to build scalable, user-friendly dApps with low transaction fees without sacrificing security. Major NFT platforms such as Opensea and Rarible also support the Polygon Amoy testnet, so we choose Amoy to deploy our smart contract.
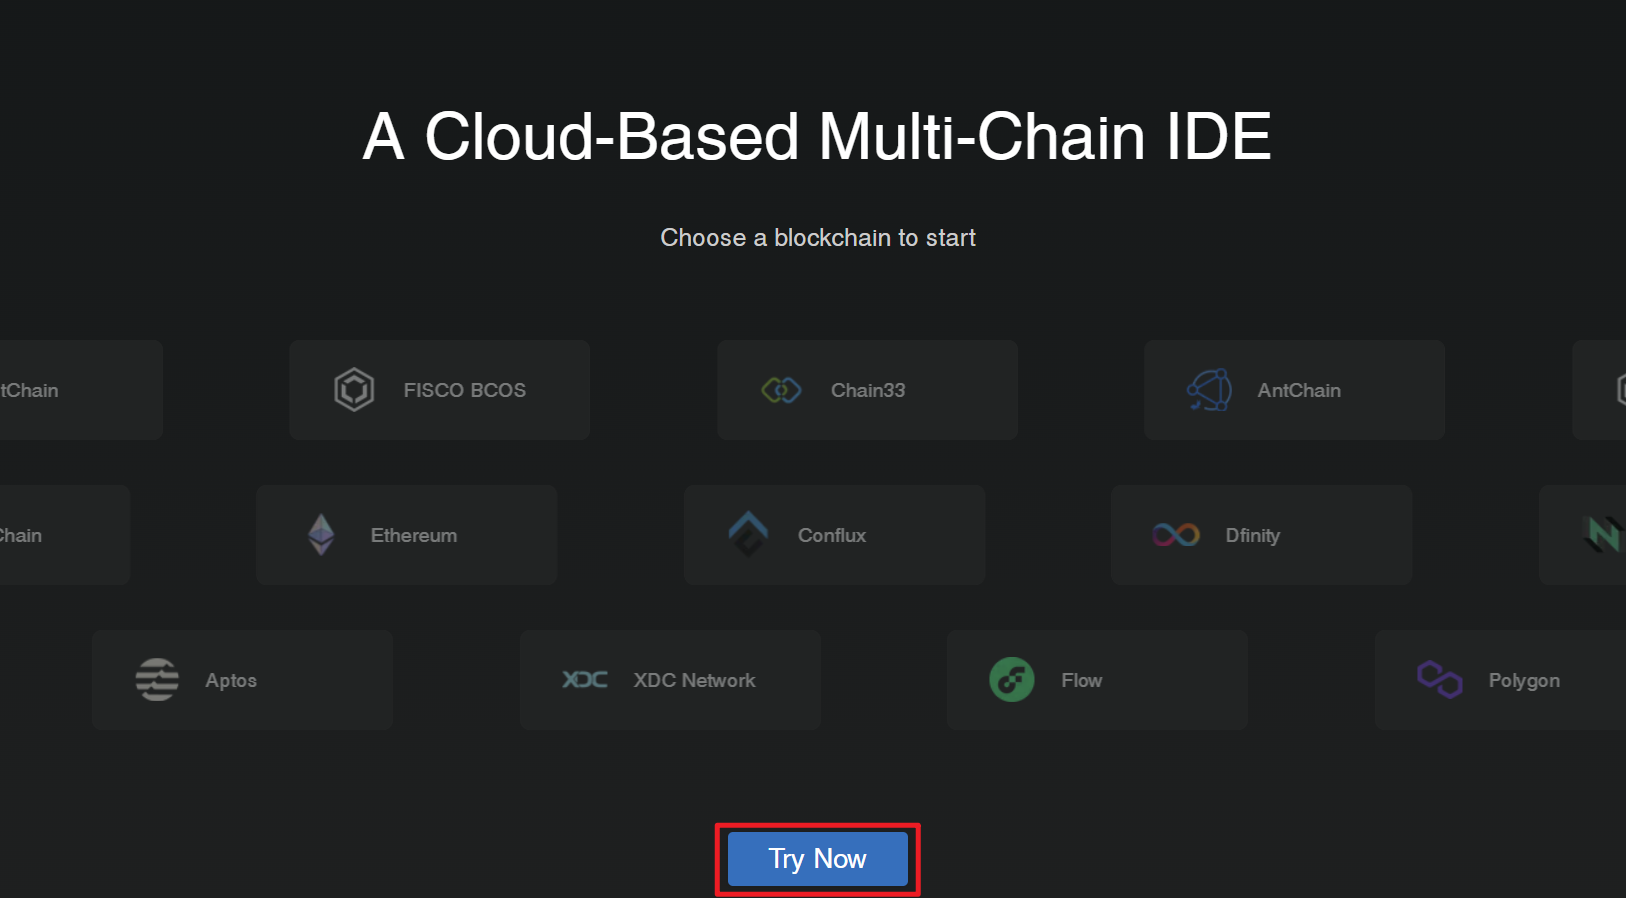
Open ChainIDE, and click the "Try Now" button on the front page as shown in the figure below.
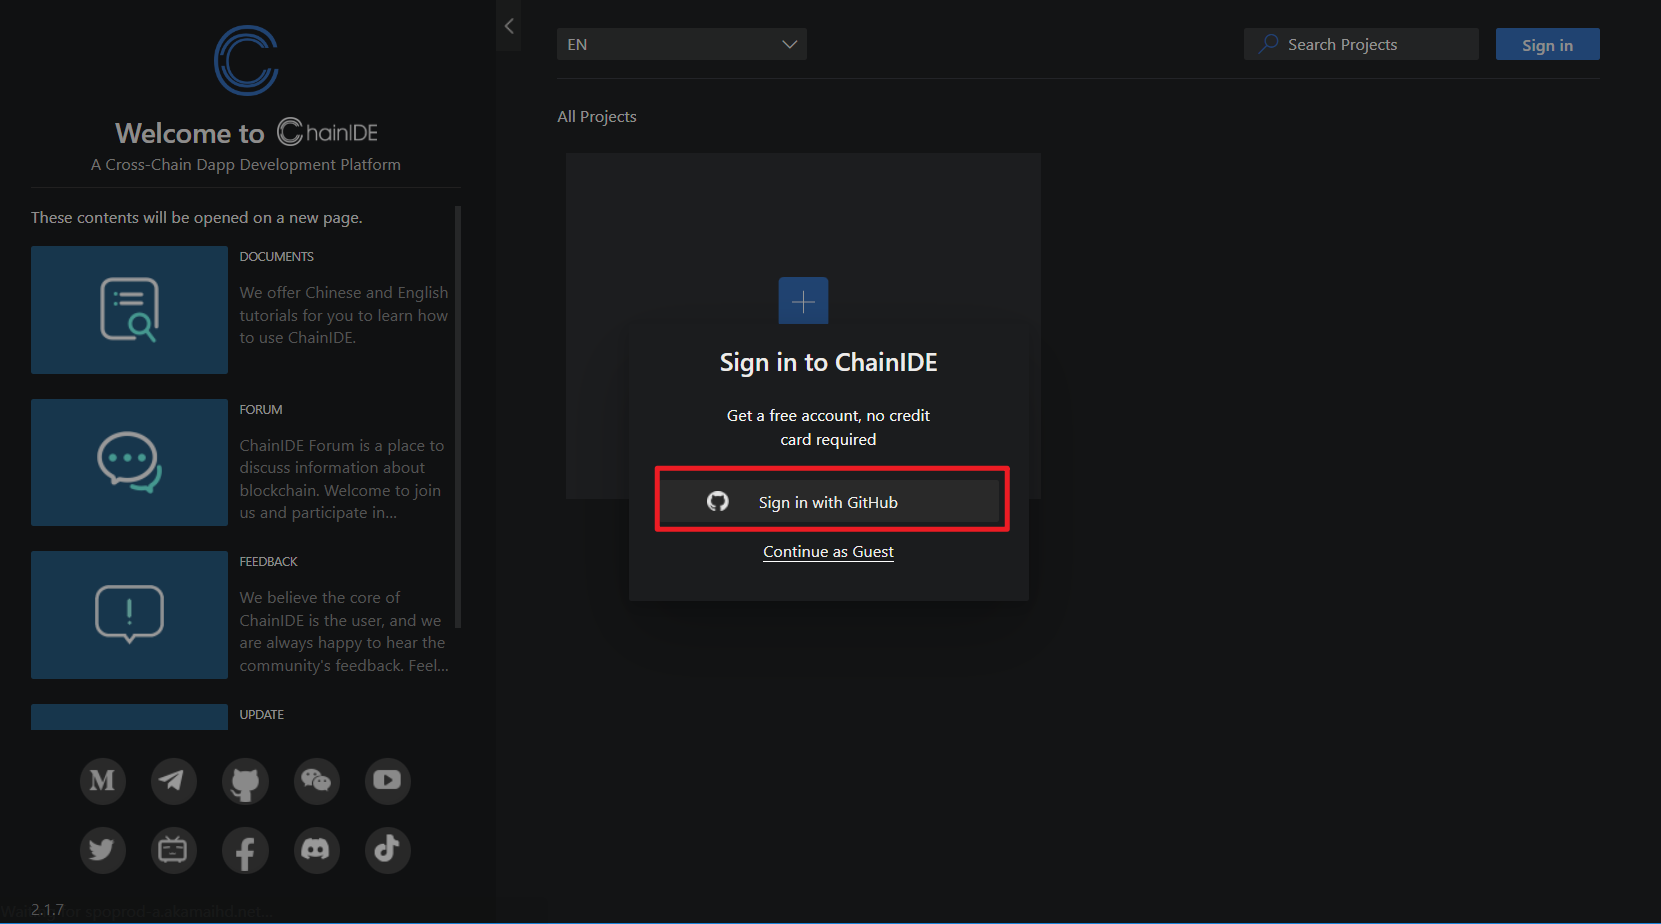
Next, you will select your preferred login method. The login prompt offers two options: "Sign in with GitHub" and "Continue as Guest". For the purposes of this tutorial, we will select "Sign in with GitHub" because the Sandbox feature is not available in Guest mode.
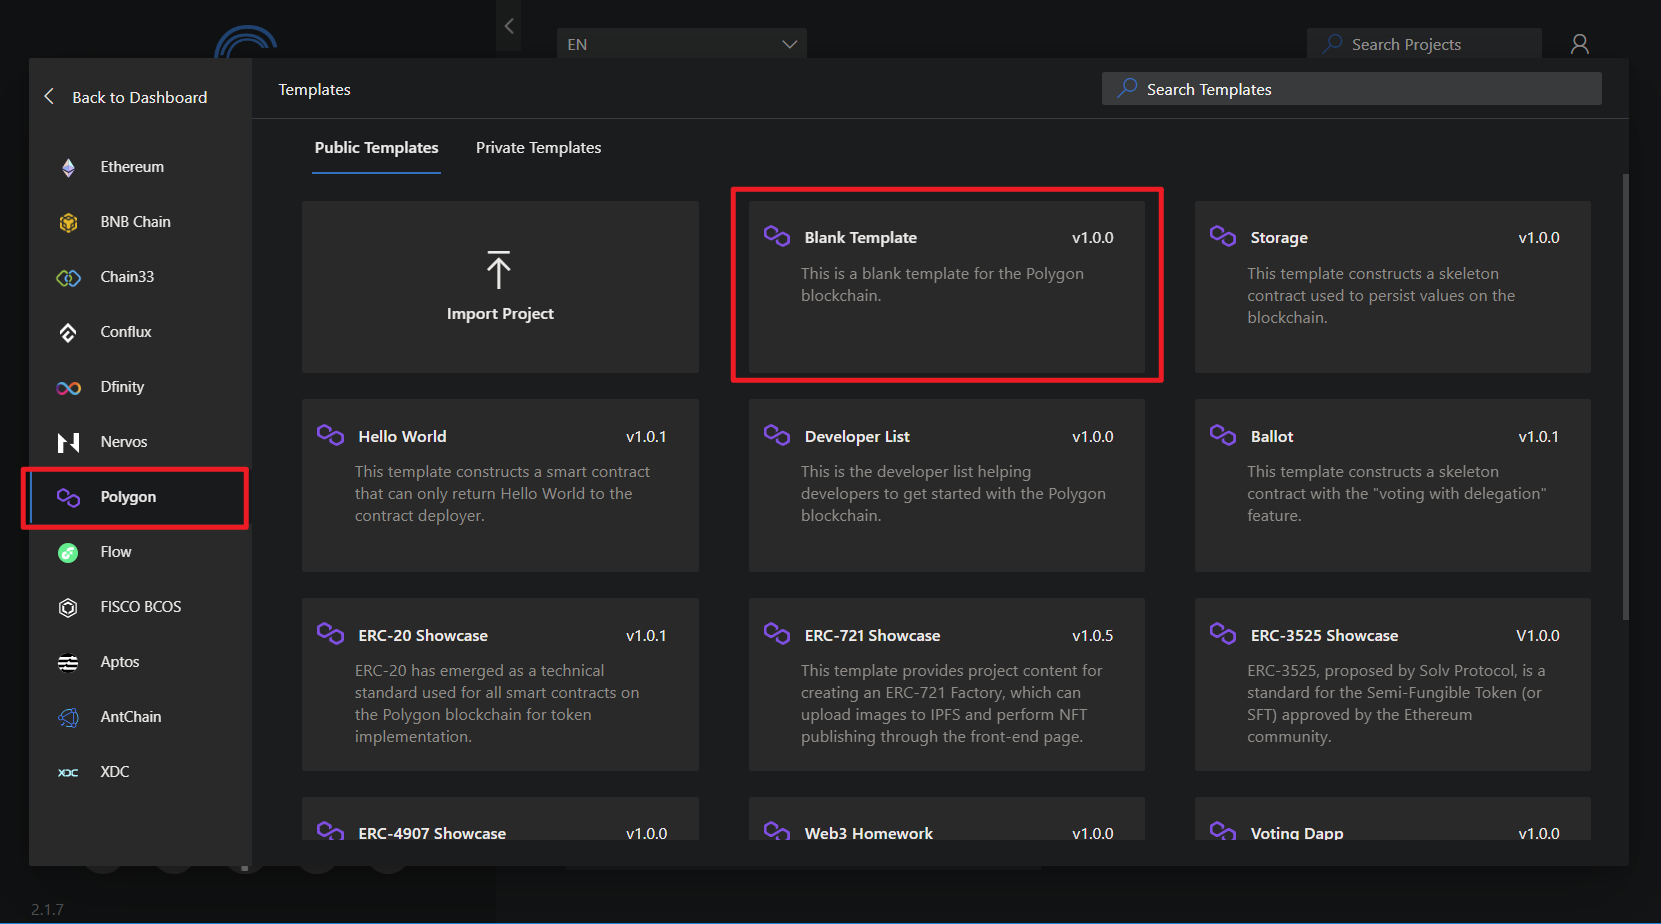
To create a new Polygon project, click the 'New Project' button and choose 'Polygon' on the left side of the screen. Next, on the right side, select ”Blank Template“.
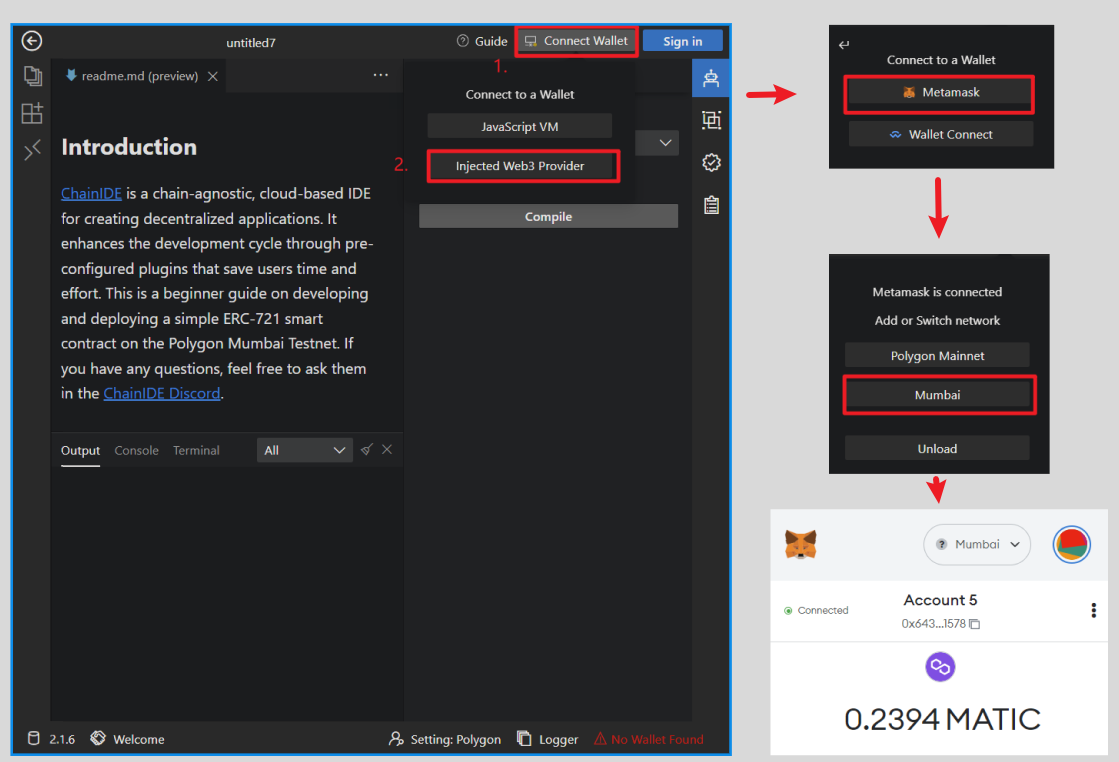
Click "Connect wallet" on the right side of the screen, select "Injected web3 Provider," and then click on MetaMask to connect the wallet(Polygon Mainnet is the main network, while Amoy is the testnet - we choose to Connect to Amoy).
Claim testnet tokens
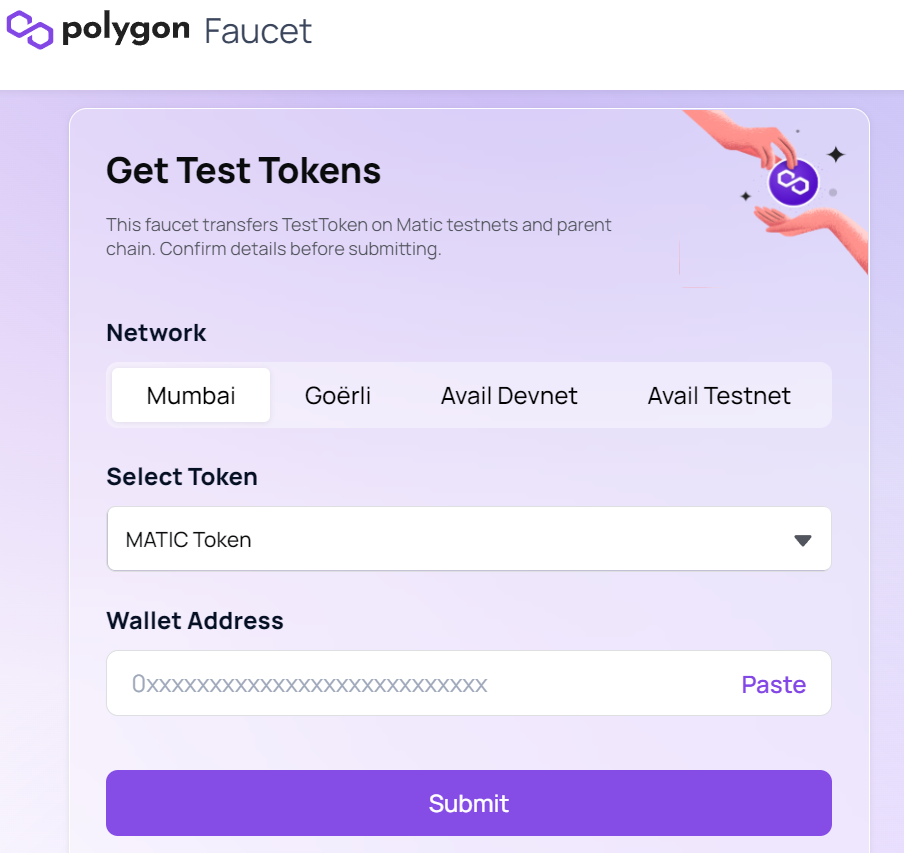
Once Amoy is added to MetaMask, click on Polygon Faucet to receive testnet tokens. On the faucet page, we choose Amoy as the network and MATIC as the token and then paste your MetaMask wallet address. Next, click submit, and the faucet will send you some test MATIC within a minute.
🙋♂️ Asking Questions
If you have any uncertainties or issues with the work done so far, please ask in the #polygon channel on Discord.
To streamline the assistance process, kindly include the following 4 points in your error report ✨:
1. Section and lesson number related to the question
2. What you were trying to do
3. Copy & paste the error message
4. Screenshot of the error screen