予約状況を確認できるようにしよう
🧳 宿泊者が予約を確認できるようにしよう
このレッスンでは、予約を確認する画面を完成させます。
まずは、宿泊者が予約を確認できるようにGuestBookedList画面を完成させます。
以下のコードで、GuestBookedList.jsを更新しましょう。
frontend/asserts/js/pages/GuestBookedList.js
import { useEffect, useState } from "react";
import { Table } from "react-bootstrap";

import { get_booking_info_for_guest } from "../near/utils";

const GuestBookedList = () => {
  // 予約した部屋のデータを設定する
  const [guestBookedRooms, setGuestBookedRooms] = useState([]);

  const getGuestBookedRooms = async () => {
    try {
      setGuestBookedRooms(await get_booking_info_for_guest(window.accountId));
    } catch (error) {
      console.log(error);
    }
  };

  useEffect(() => {
    getGuestBookedRooms();
  }, []);

  // NEAR Walletに接続されていない時
  if (!window.accountId) {
    return (
      <>
        <h2>Please connect NEAR wallet.</h2>
      </>
    );
  }
  // NEAR Walletに接続されている時
  // // 予約したデータをテーブルで表示
  return (
    <>
      <h2>BOOKED LIST</h2>
      <Table striped bordered hover>
        <thead>
          <tr>
            <th scope="col">Owner</th>
            <th scope="col">Room Name</th>
            <th scope="col">Check In</th>
          </tr>
        </thead>
        {guestBookedRooms.map((_room) => (
          <tbody key={_room.room_id}>
            <tr>
              <td>{_room.owner_id}</td>
              <td>{_room.room_name}</td>
              <td>{_room.check_in_date}</td>
            </tr>
          </tbody>
        ))}
      </Table>
    </>
  );
};

export default GuestBookedList;
内容を見てみましょう。
宿泊者の予約データは、get_booking_info_for_guestメソッドにアカウントIDを渡して取得します。
const getGuestBookedRooms = async () => {
  try {
    setGuestBookedRooms(await get_booking_info_for_guest(window.accountId));
  } catch (error) {
    console.log(error);
  }
};
return文は、ManageRooms画面で実装したように、NEAR Walletに接続されているかどうかで表示を変更するようにします。
動作を確認してみましょう。 前回のレッスンで、部屋の予約をしたアカウントIDがWebアプリケーションに接続されていることを確認します。
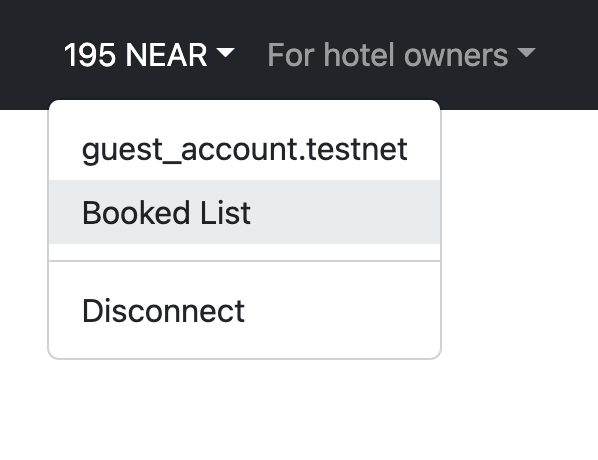
ナビゲーションバーのメニューから宿泊者の予約確認画面へ移動します。
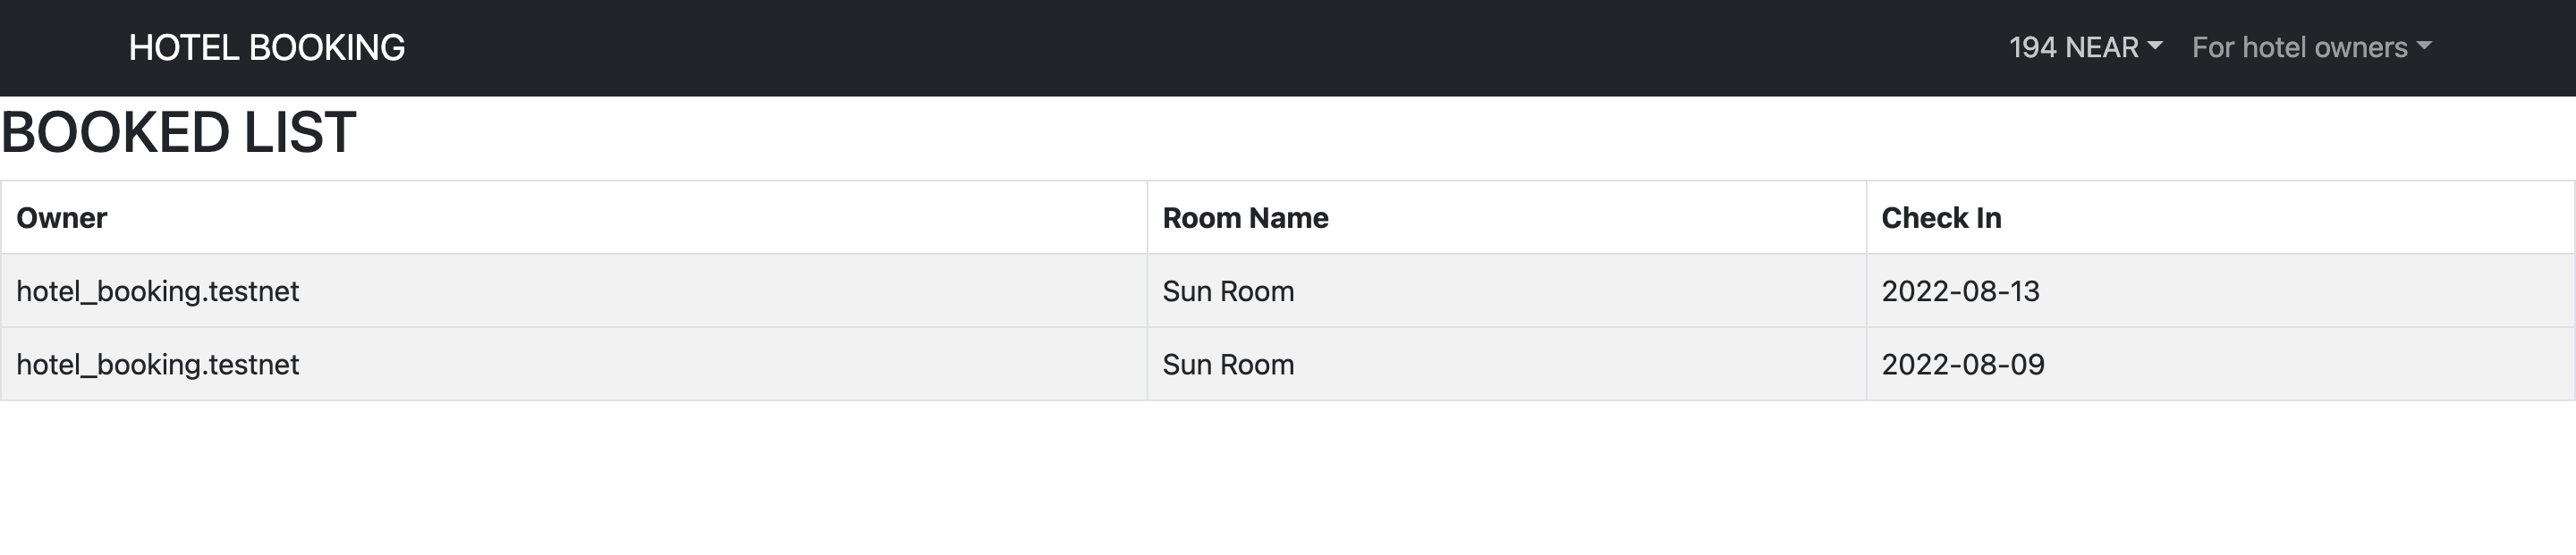
以下のように、予約データが表示されていたら完成です!

🔖 オーナーが予約の管理をできるようにしよう
次に、オーナーが予約を管理できるようにManageBookings画面を完成させましょう。
オーナー用の画面では予約データの一覧と、利用状況を変更するためのボタンを表示させます。
以下のコードで、ManageBookings.jsを更新しましょう。
frontend/asserts/js/pages/ManageBookings.js
import { useEffect, useState } from "react";
import Button from "react-bootstrap/Button";
import Table from "react-bootstrap/Table";

import {
  change_status_to_available,
  change_status_to_stay,
  get_booking_info_for_owner,
  is_available,
} from "../near/utils";

const ManageBookings = () => {
  // 予約データを設定する
  const [bookedRooms, setBookedRooms] = useState([]);

  const getBookedRooms = async () => {
    try {
      setBookedRooms(await get_booking_info_for_owner(window.accountId));
    } catch (error) {
      console.log(error);
    }
  };

  const handleCheckIn = async (room_id, check_in_date) => {
    const isAvailable = await is_available(room_id);
    if (isAvailable === false) {
      // 誰かが滞在中の部屋に対して`Check In`ボタンを押すとアラートを発生させる
      alert("Error: Someone already stay.");
      return;
    }
    try {
      change_status_to_stay(room_id, check_in_date).then((resp) => {
        getBookedRooms();
      });
    } catch (error) {
      console.log(error);
    }
  };
  const handleCheckOut = async (room_id, check_in_date, guest_id) => {
    try {
      change_status_to_available(room_id, check_in_date, guest_id).then(
        (resp) => {
          getBookedRooms();
        }
      );
    } catch (error) {
      console.log(error);
    }
  };

  useEffect(() => {
    getBookedRooms();
  }, []);

  // NEAR Walletに接続されていない時
  if (!window.accountId) {
    return (
      <>
        <h2>Please connect NEAR wallet.</h2>
      </>
    );
  }
  // NEAR Walletに接続されている時
  // // `Check In/Check Out`ボタンを持つ予約データをテーブルで表示
  return (
    <>
      <h2>BOOKED LIST</h2>
      <Table striped bordered hover>
        <thead>
          <tr>
            <th scope="col">Room Name</th>
            <th scope="col">Check In</th>
            <th scope="col">GuestID</th>
            <th scope="col">Manage Status</th>
          </tr>
        </thead>
        {bookedRooms.map((_room) => (
          <tbody key={_room.room_id + _room.check_in_date}>
            <tr>
              <td>{_room.name}</td>
              <td>{_room.check_in_date}</td>
              <td>{_room.guest_id}</td>
              <td>
                {_room.status === "Available" && (
                  <Button
                    variant="success"
                    size="sm"
                    onClick={(e) =>
                      handleCheckIn(_room.room_id, _room.check_in_date, e)
                    }
                  >
                    Check In
                  </Button>
                )}
                {_room.status !== "Available" && (
                  <Button
                    variant="danger"
                    size="sm"
                    onClick={(e) =>
                      handleCheckOut(
                        _room.room_id,
                        _room.check_in_date,
                        _room.guest_id,
                        e
                      )
                    }
                  >
                    Check Out
                  </Button>
                )}
              </td>
            </tr>
          </tbody>
        ))}
      </Table>
    </>
  );
};

export default ManageBookings;
内容を見ていきましょう。
予約データを取得する方法は、宿泊者側と一緒です。オーナー側ではget_booking_info_for_ownerメソッドを実行します。
次は、Check Inボタンを押した時に実行される関数を定義しています。ステータスを変更する前にis_availableメソッドを呼び出し、滞在者がいるかどうかを確認します。これは、同じ部屋に対し複数の予約がある場合、オーナーが誤ってボタンを押してしまっても予約データを変更しないようにするためです。
空室であればchange_status_to_stayメソッドを実行して、ステータスを変更します。
const handleCheckIn = async (room_id, check_in_date) => {
  // 部屋が空室かを確認
  let isAvailable = await is_available(room_id);
  if (isAvailable == false) {
    // 誰かが滞在中の部屋に対して`Check In`ボタンを押すとアラートを発生させる
    alert("Error: Someone already stay.");
    return;
  }
  try {
    change_status_to_stay(room_id, check_in_date).then((resp) => {
      getBookedRooms();
    });
  } catch (error) {
    console.log(error);
  }
};
その次は、Check Outボタンを押した時に実行される関数を定義しています。中でchange_status_to_availableメソッドを呼んでいます。
return文では、ステータスに応じてボタンの実装を変更しています。
{
  /*ステータスが`Available`の時*/
}
{
  _room.status === "Available" && (
    <Button
      variant="success"
      size="sm"
      onClick={(e) => handleCheckIn(_room.room_id, _room.check_in_date, e)}
    >
      Check In
    </Button>
  );
}
{
  /* ステータスが`Stay`の時 */
}
{
  _room.status !== "Available" && (
    <Button
      variant="danger"
      size="sm"
      onClick={(e) =>
        handleCheckOut(_room.room_id, _room.check_in_date, _room.guest_id, e)
      }
    >
      Check Out
    </Button>
  );
}
では、動作確認をしてみましょう!
実際にManageBookings画面へ移動する前に1つやっていただきたいことがあります。おそらく、部屋を予約している宿泊者のアカウントIDがそのまま接続されていると思います。宿泊者のアカウントで、別の日の予約を取りましょう。この時、既に予約しているオーナー・部屋を予約してください。
例えば、このようになるでしょう。
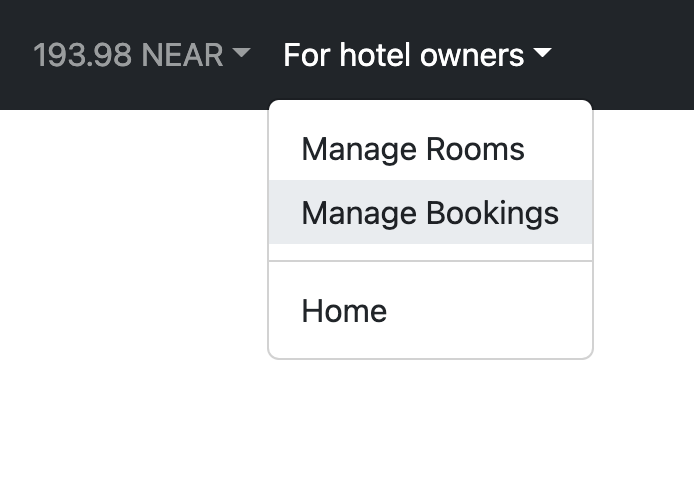
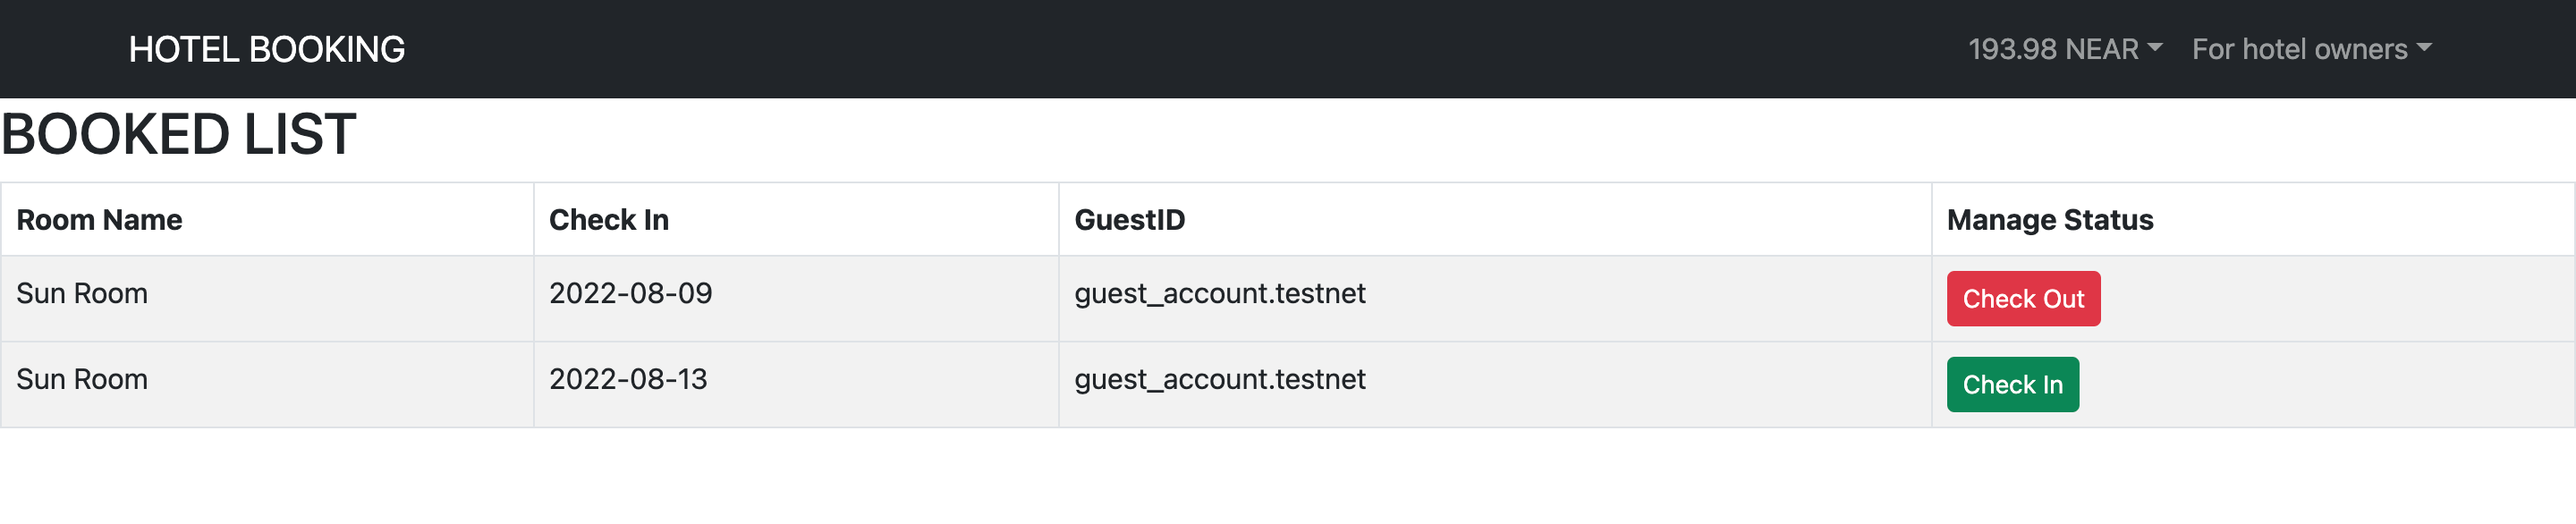
続いて、オーナーのアカウントIDを接続して、ManageBookings画面を表示してみましょう。ナビゲーションバーのメニューからオーナーの予約管理画面へ移動します。
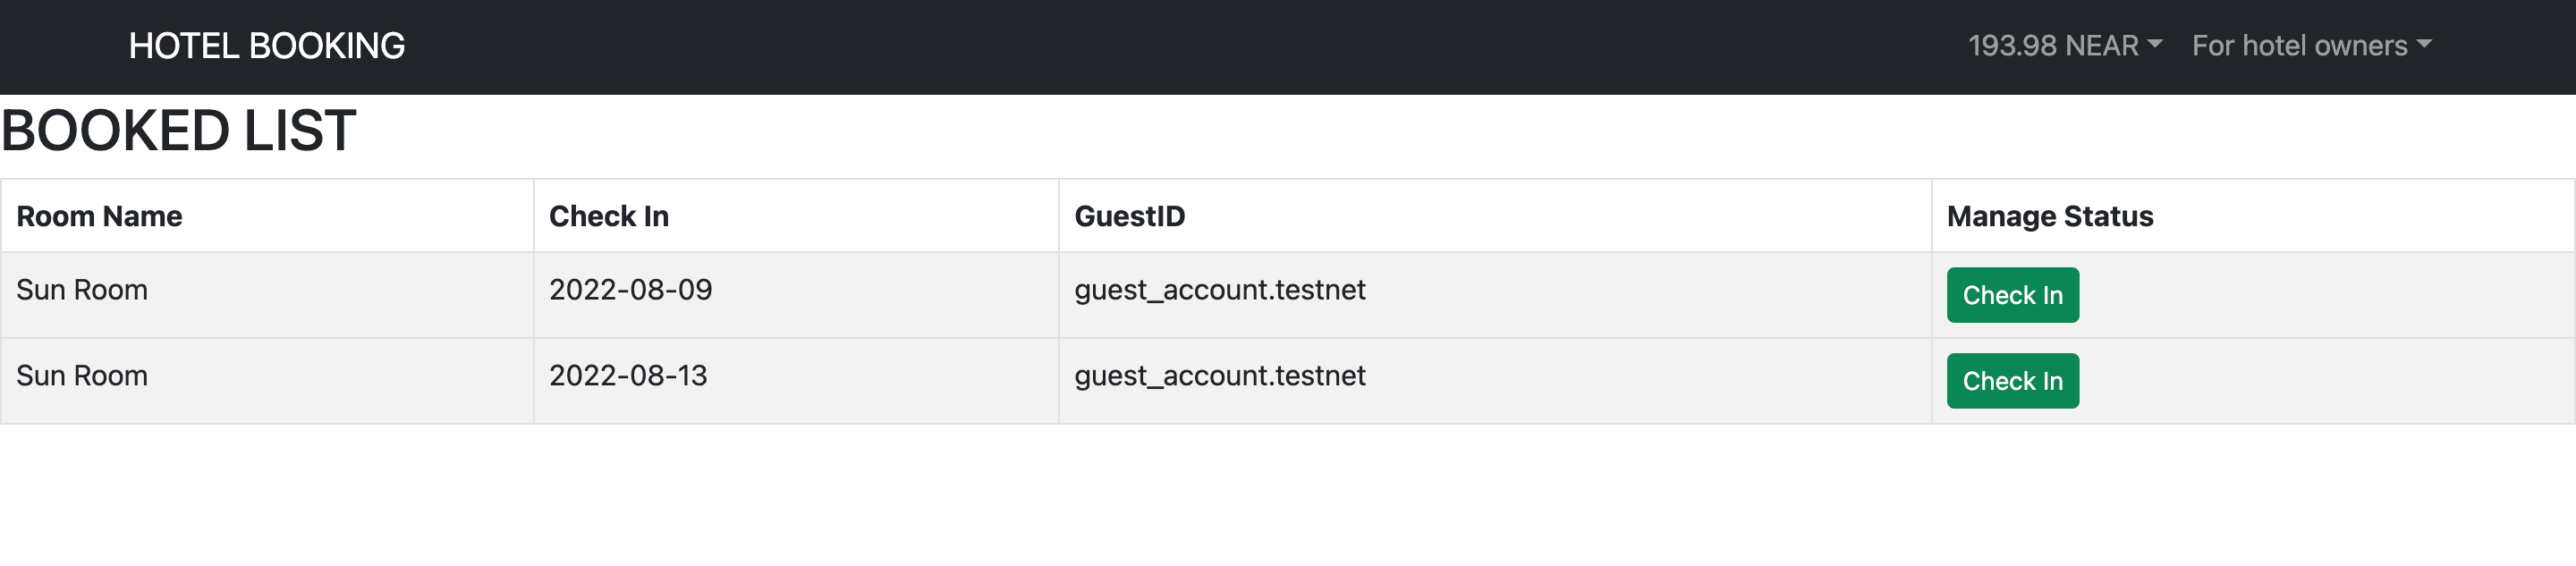
このように、予約が2つ表示されていたらOKです!
🌴 チェックイン・チェックアウトを実行してみよう
オーナーの予約管理画面が完成したので、チェックイン・チェックアウト機能を確認してみましょう。
まずはチェックインを実行してみます。
片方のCheck Inボタンを押してみましょう。ボタンがCheck Outに変更されることを確認します。
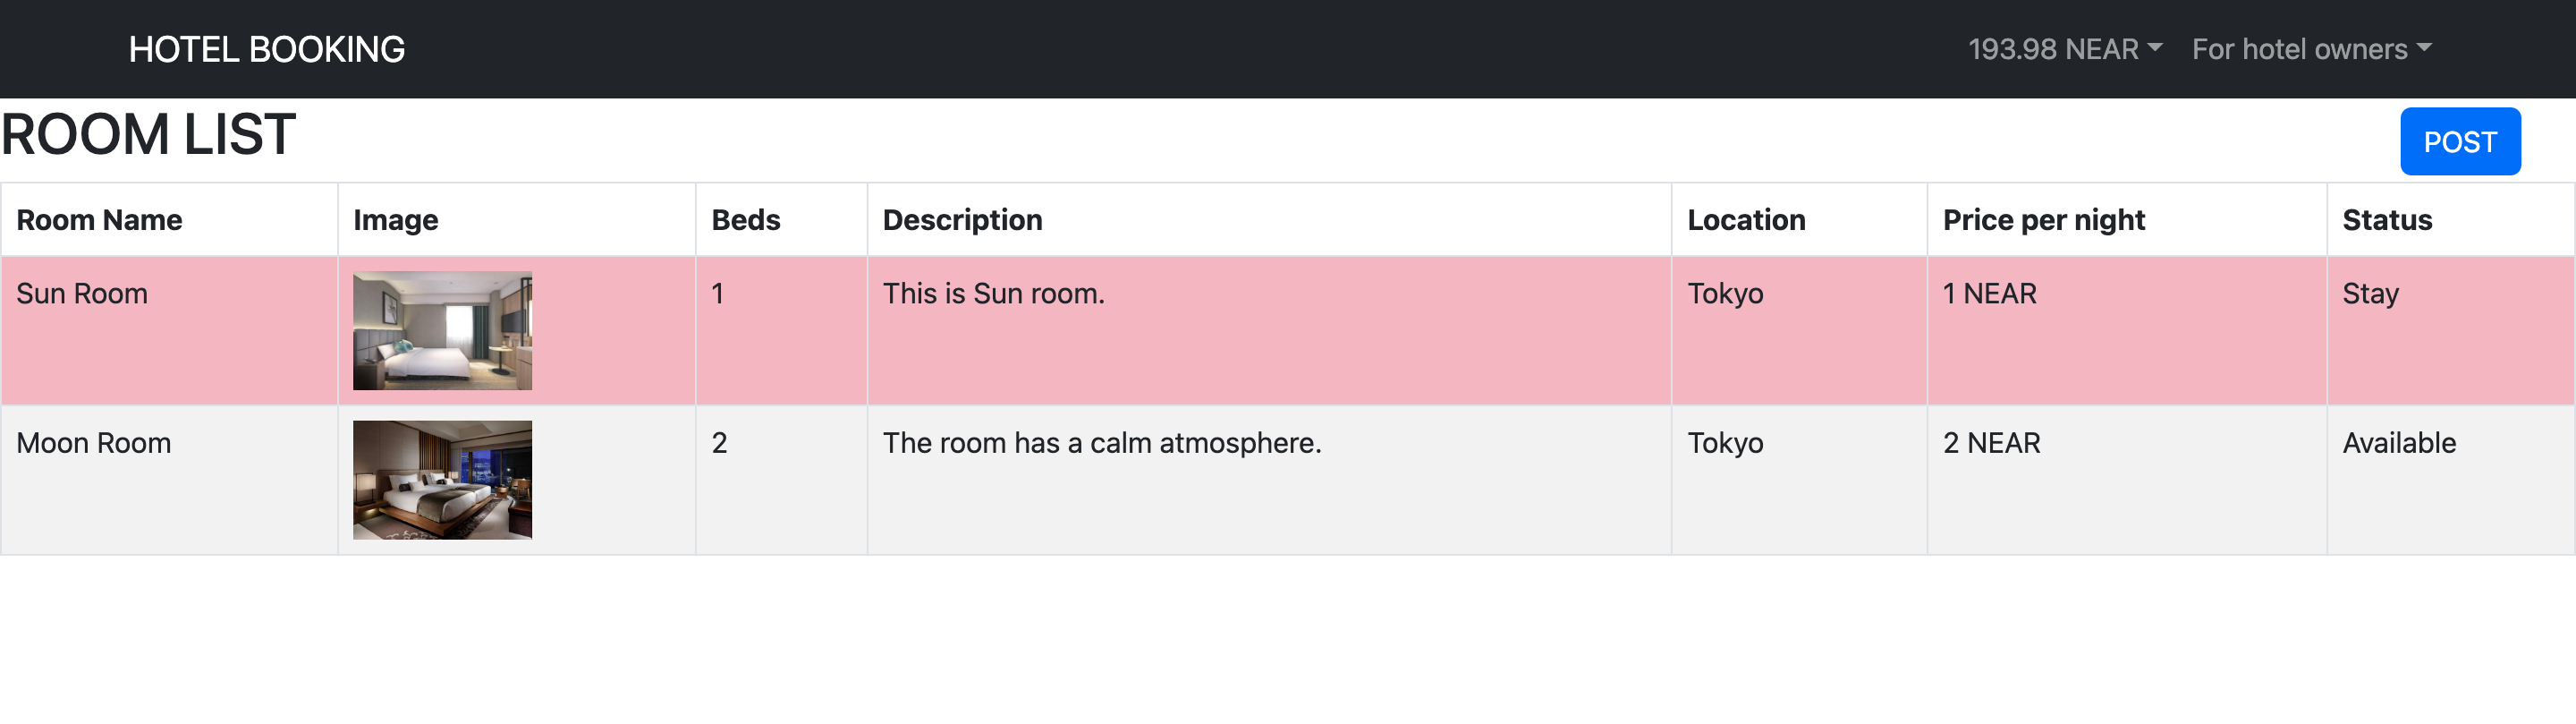
ここで、ManageRooms画面に移動します。オーナーがチェックインの操作をしたことで、利用状況がStayになったことを確認します。
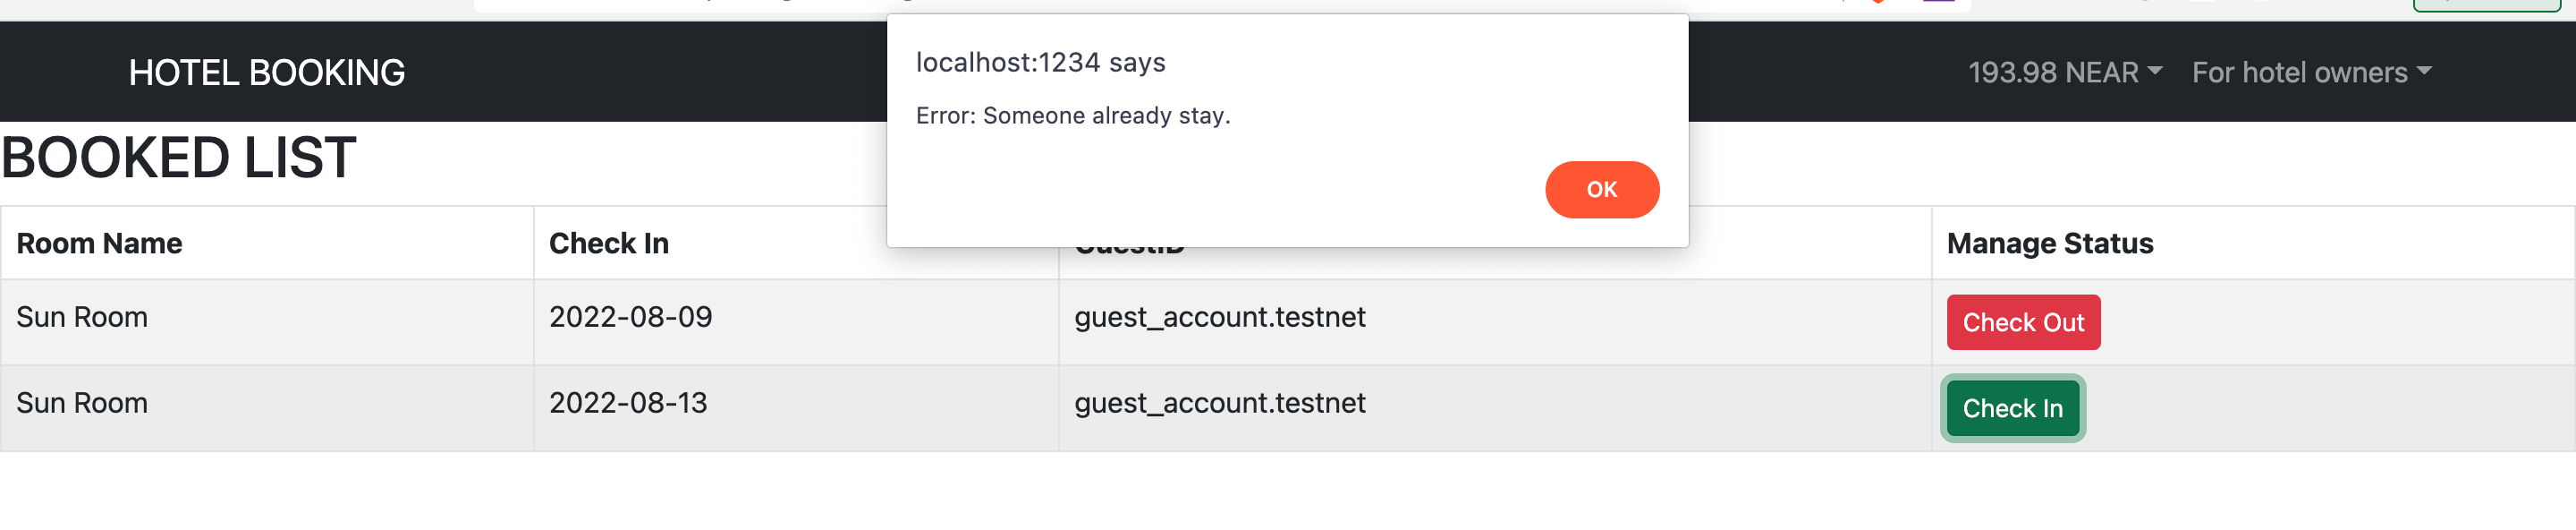
次に、ManageBookings画面に戻りアラートの確認します。もう片方のCheck Inボタンを押してみましょう。このようにアラートが表示されたらOKです!
最後に、チェックアウトを実行してみます。 Check Outボタンを押すと、予約管理画面からデータが消えることを確認します。

ManageBookings画面に移動し、部屋の利用状況がAvailableに戻っていること、さらに宿泊者でログインをし直してGuestBookedList画面から予約データが消えていることを確認できたらOKです!
🙋♂️ 質問する
ここまでの作業で何かわからないことがある場合は、Discordの#nearで質問をしてください。
ヘルプをするときのフローが円滑になるので、エラーレポートには下記の4点を記載してください ✨
1. 質問が関連しているセクション番号とレッスン番号
2. 何をしようとしていたか
3. エラー文をコピー&ペースト
4. エラー画面のスクリーンショット
お疲れ様でした! これでフロントエンドに必要な機能が全て実装できました ✨
予約管理画面からデータが消えた状態のUIを#nearに投稿して、あなたの成功をコミュニティで祝いましょう 🎉
最後のセクションで、netlifyに上げてあなたの宿泊予約アプリを公開しましょう 🚀