lesson-6_Frontend
Frontend
Updating and deploying our Frontend
Now that we have our contract deployed to a testnet and the data is getting indexed in Subgraph Studio. It is time to update our frontend.
✅ Step 1: Update the Scaffold-ETH config
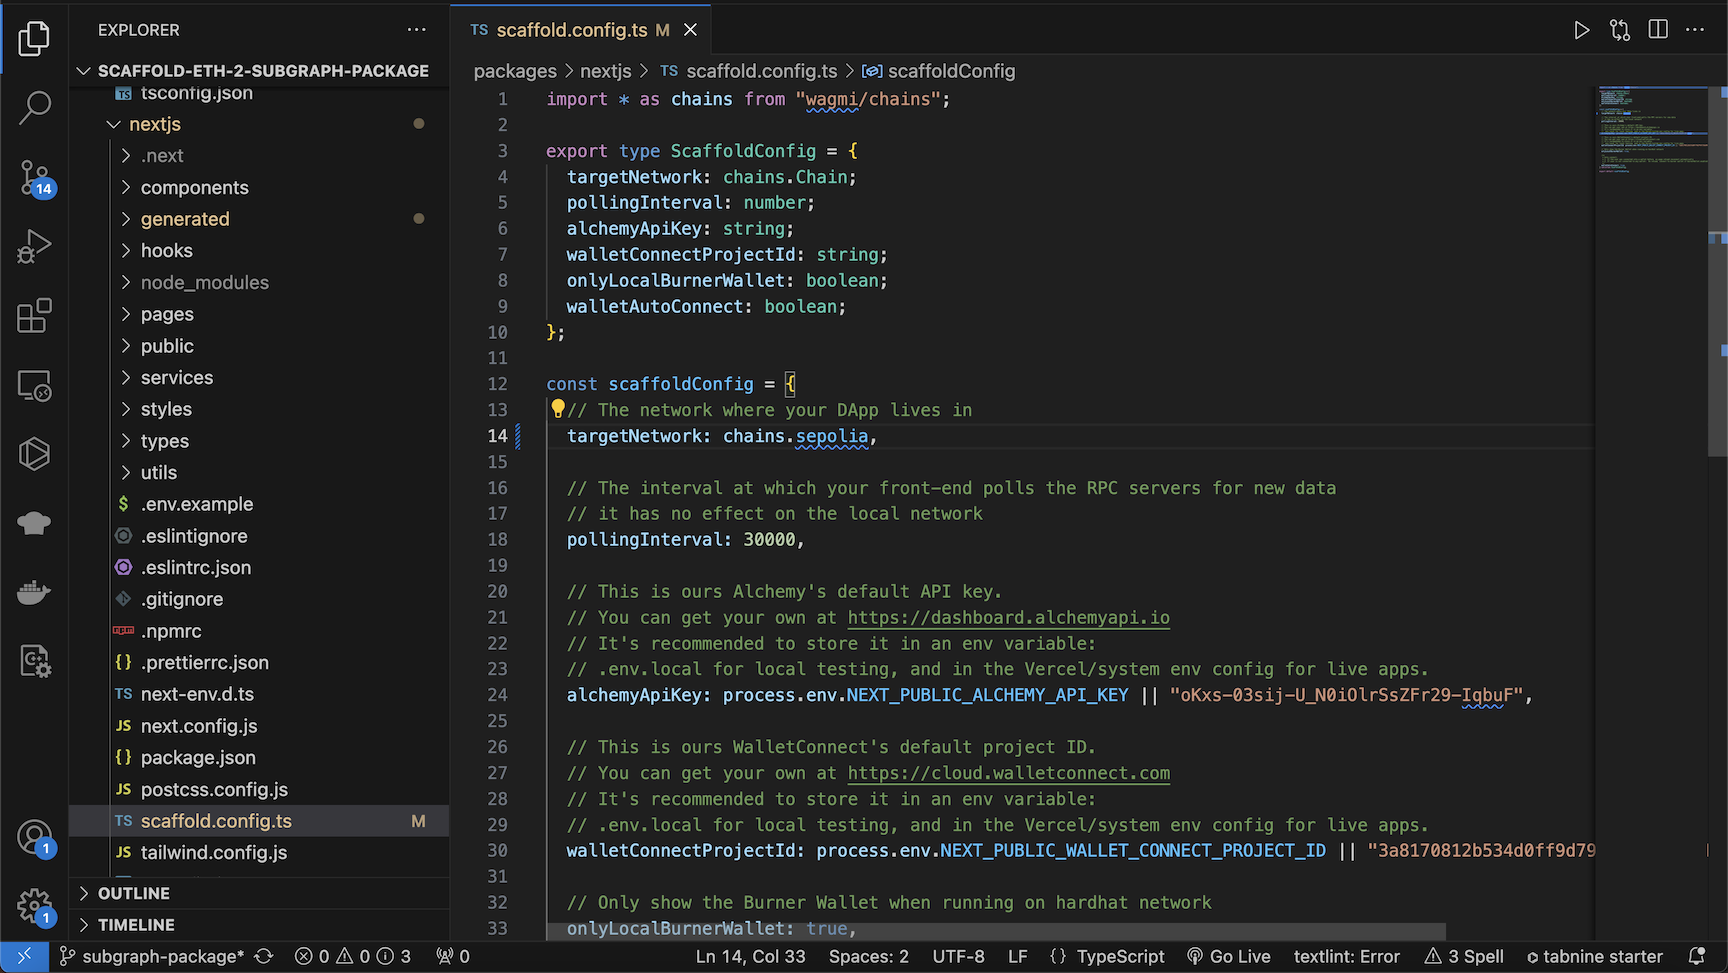
Update the configuration to point to the testnet that you deployed to in previous steps.
The scaffold.config.ts is located in packages/nextjs
targetNetwork: chains.sepolia,
It should look like this when changed:
Once you change this you can go back to scaffold-ETH and refresh the UI. You will get kicked from your burner wallet, you will want to connect to the testnet work using your metamask wallet.
Click "CONNECT WALLET"...
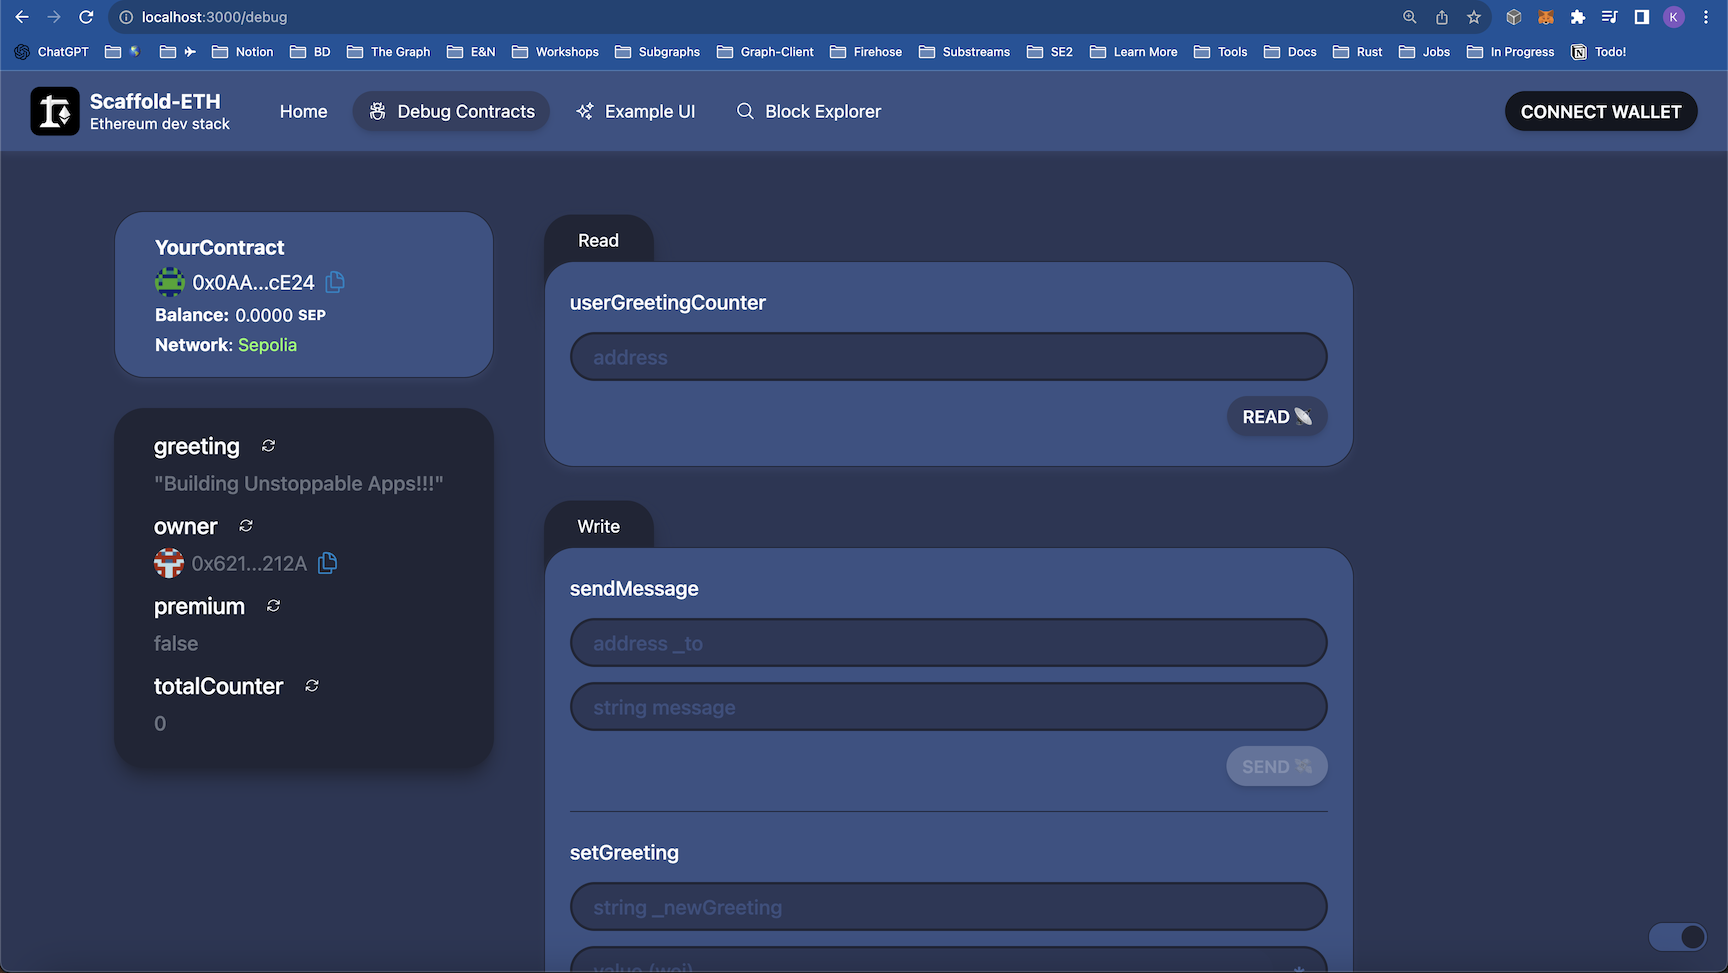
Choose Metamask...
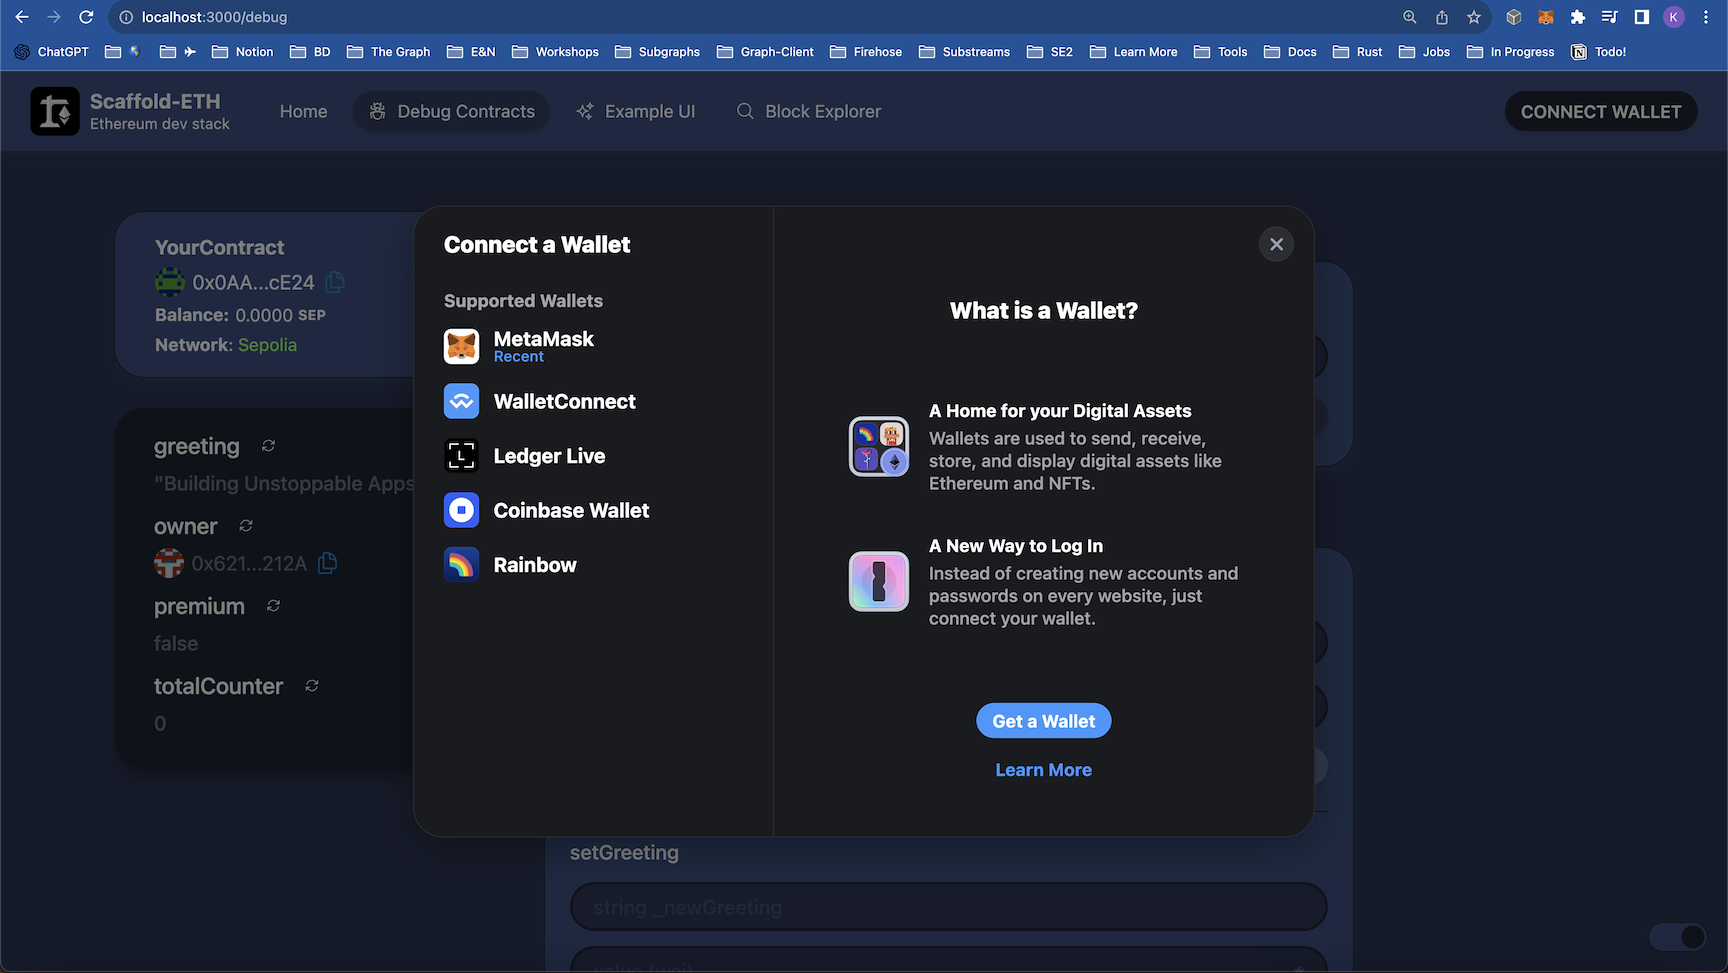
Switch the network...
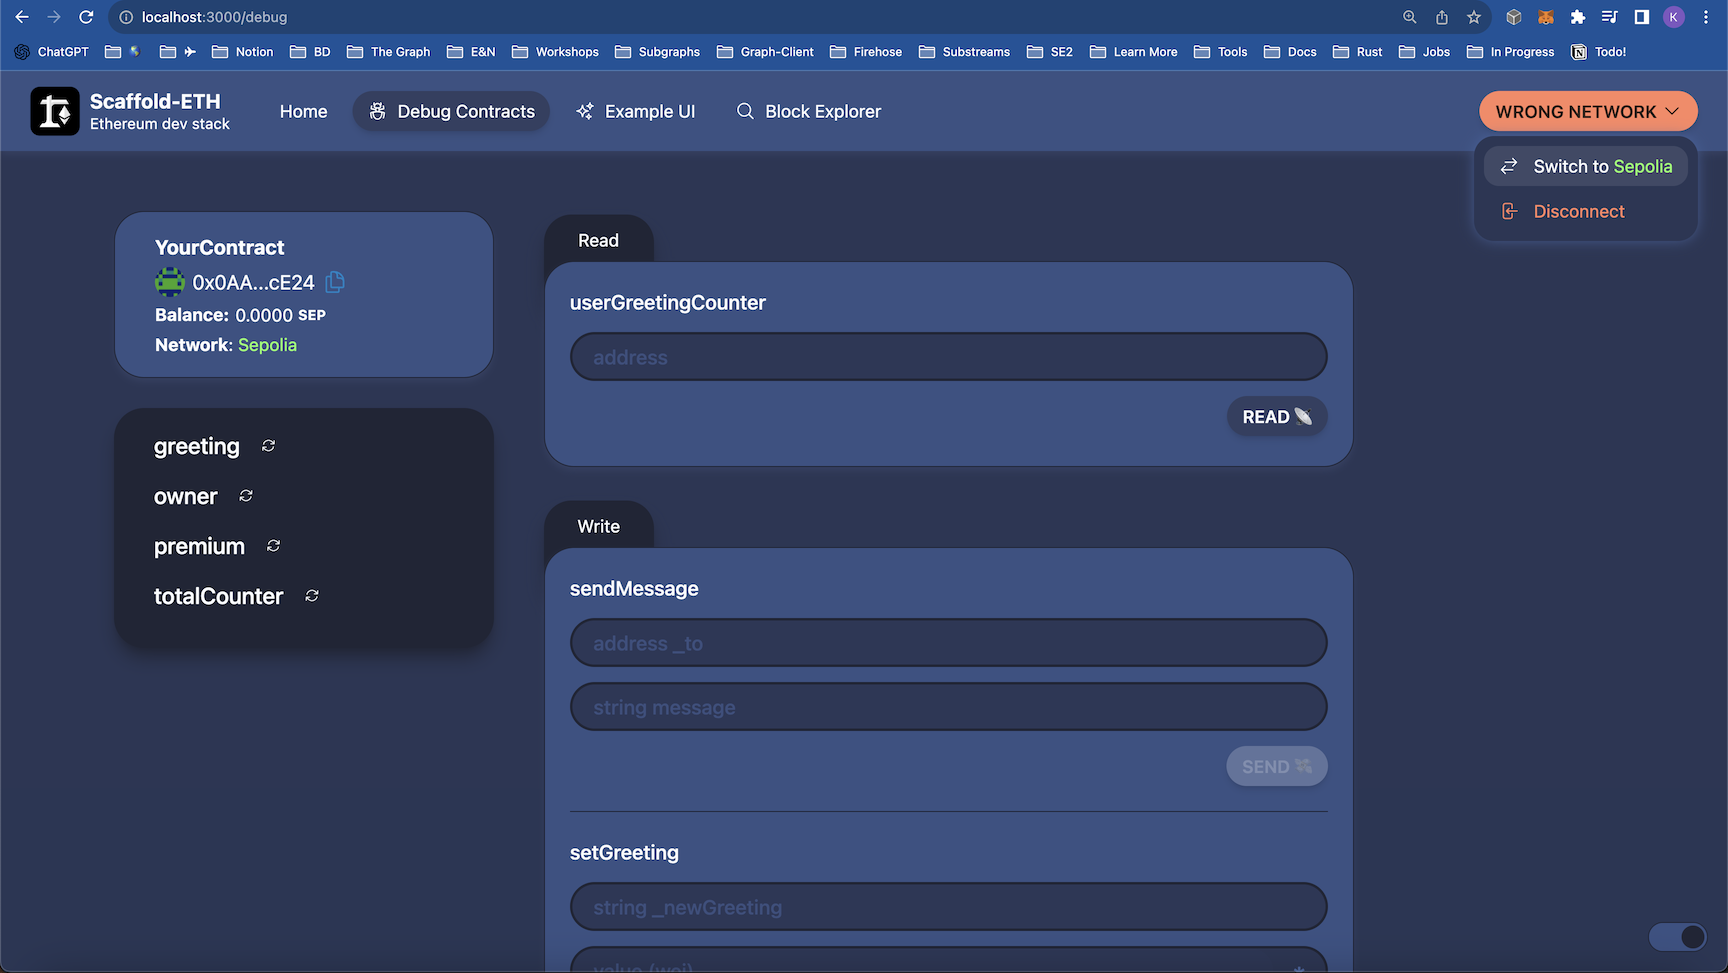
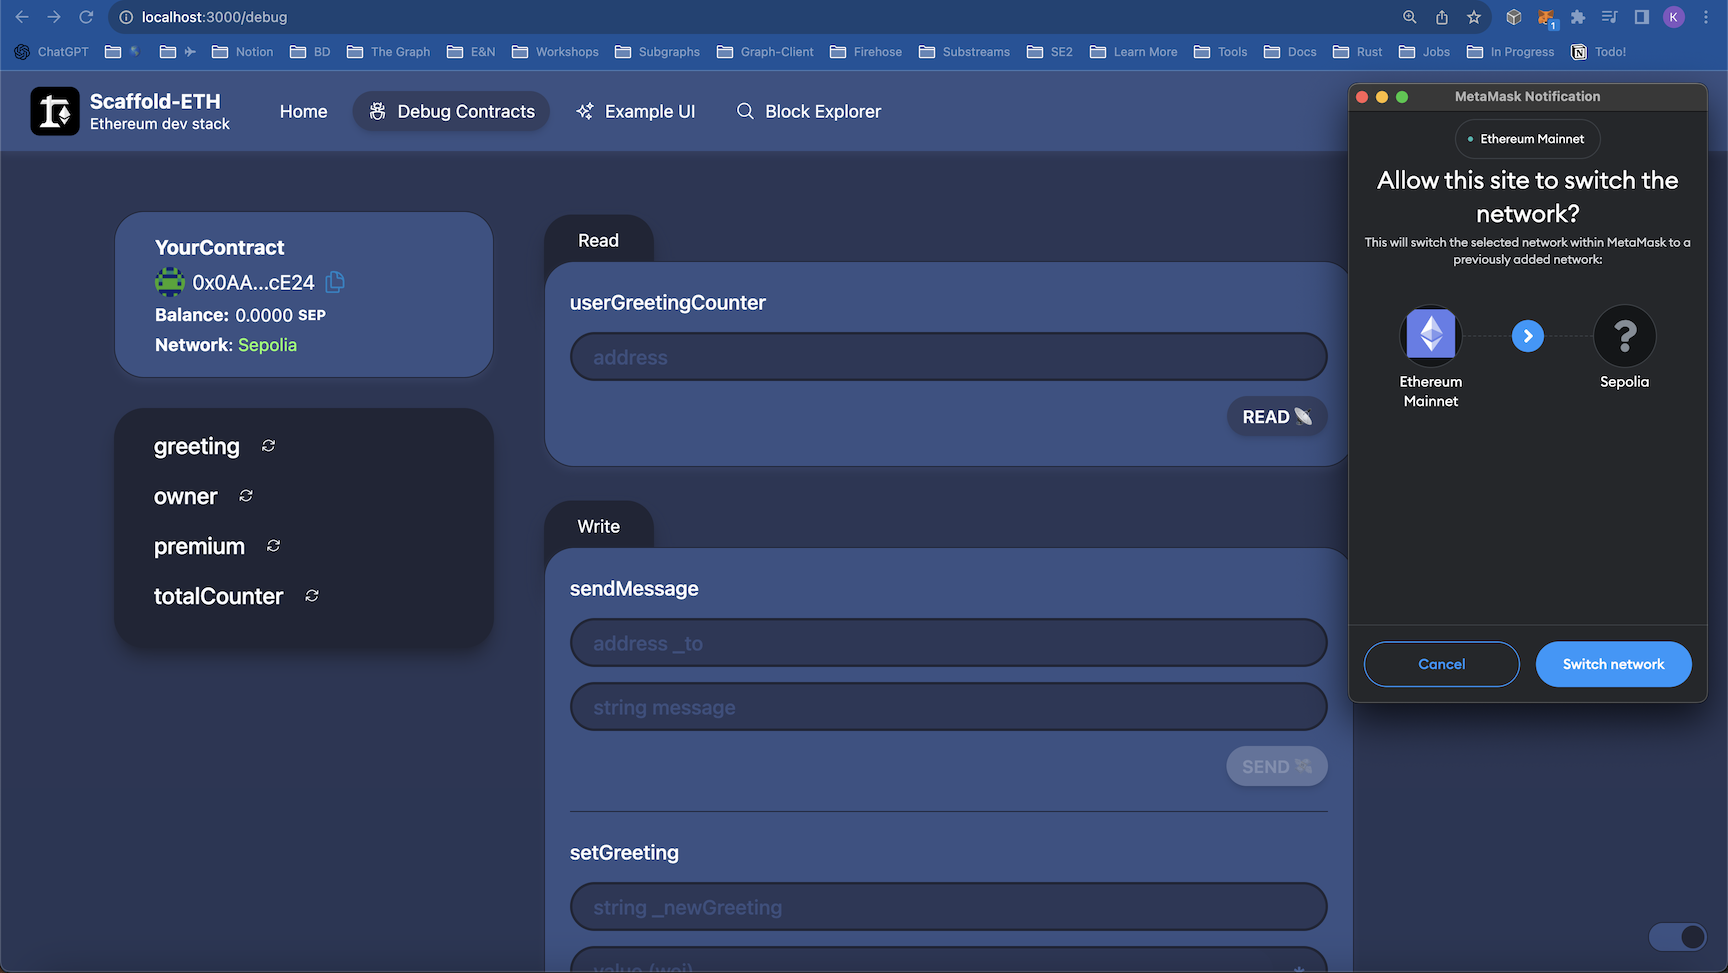
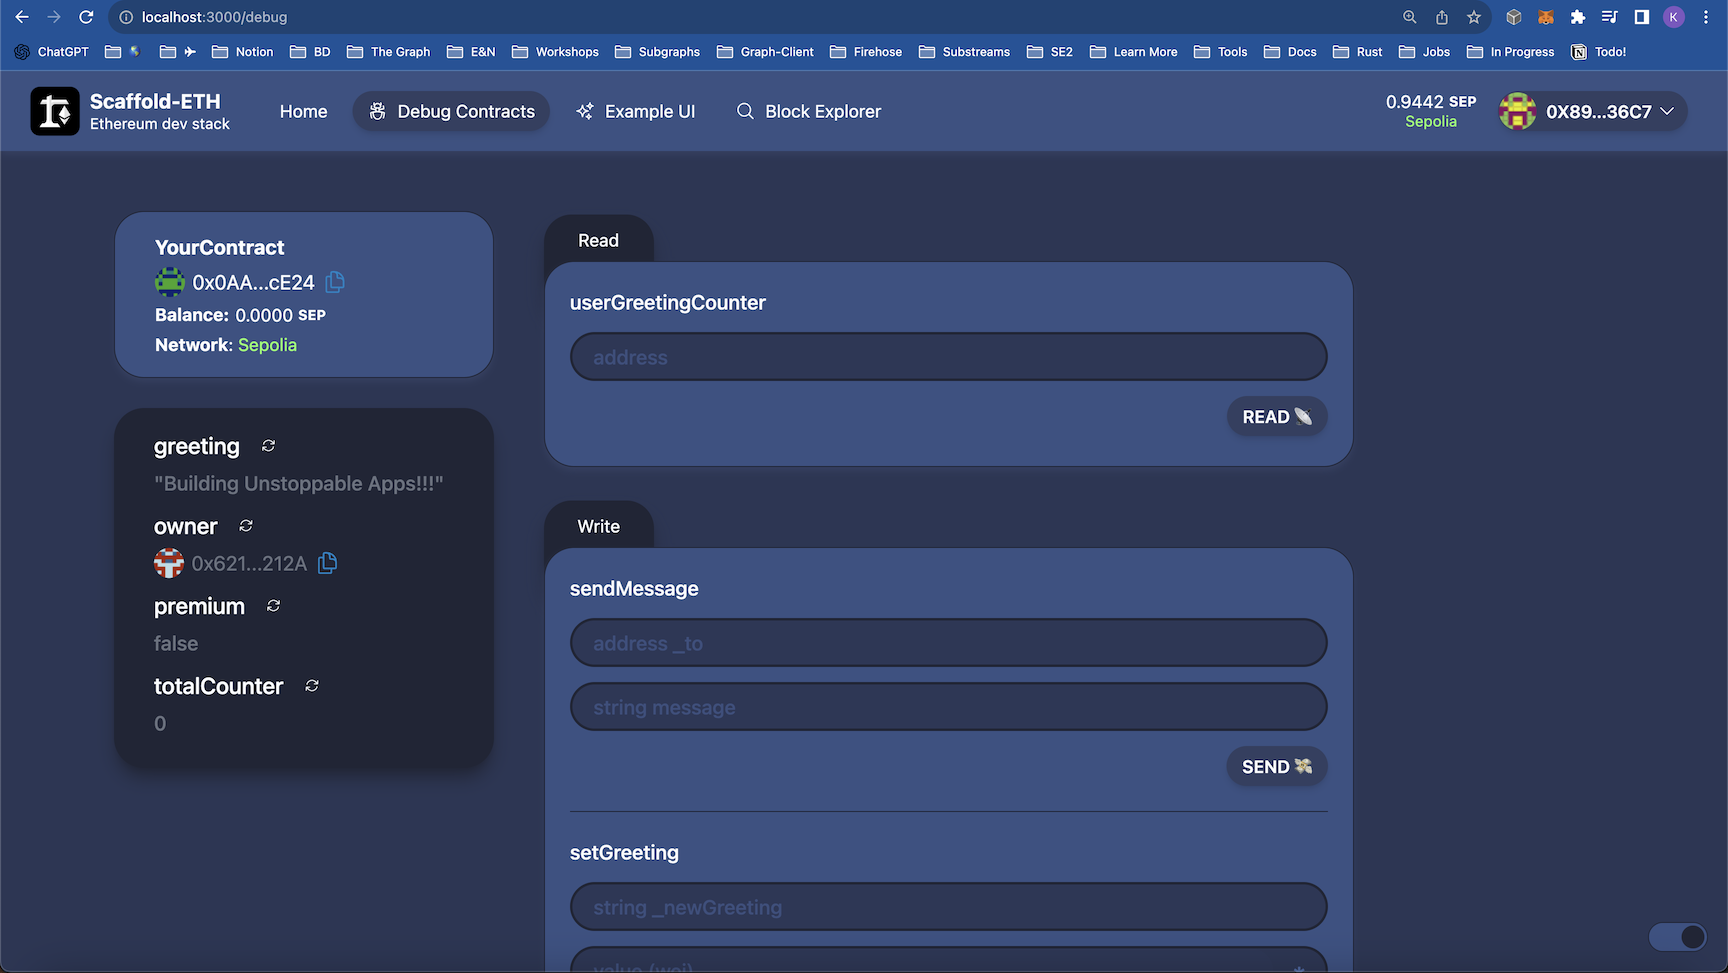
Once complete you should now be connected to your dapp on sepolia network.
✅ Fire off a test message to someone you know! (or Vitalik heh)
We now want to send an event on the testnet that we have deployed our smart contract. We can do that fairly easily now that our frontend is properly configured.
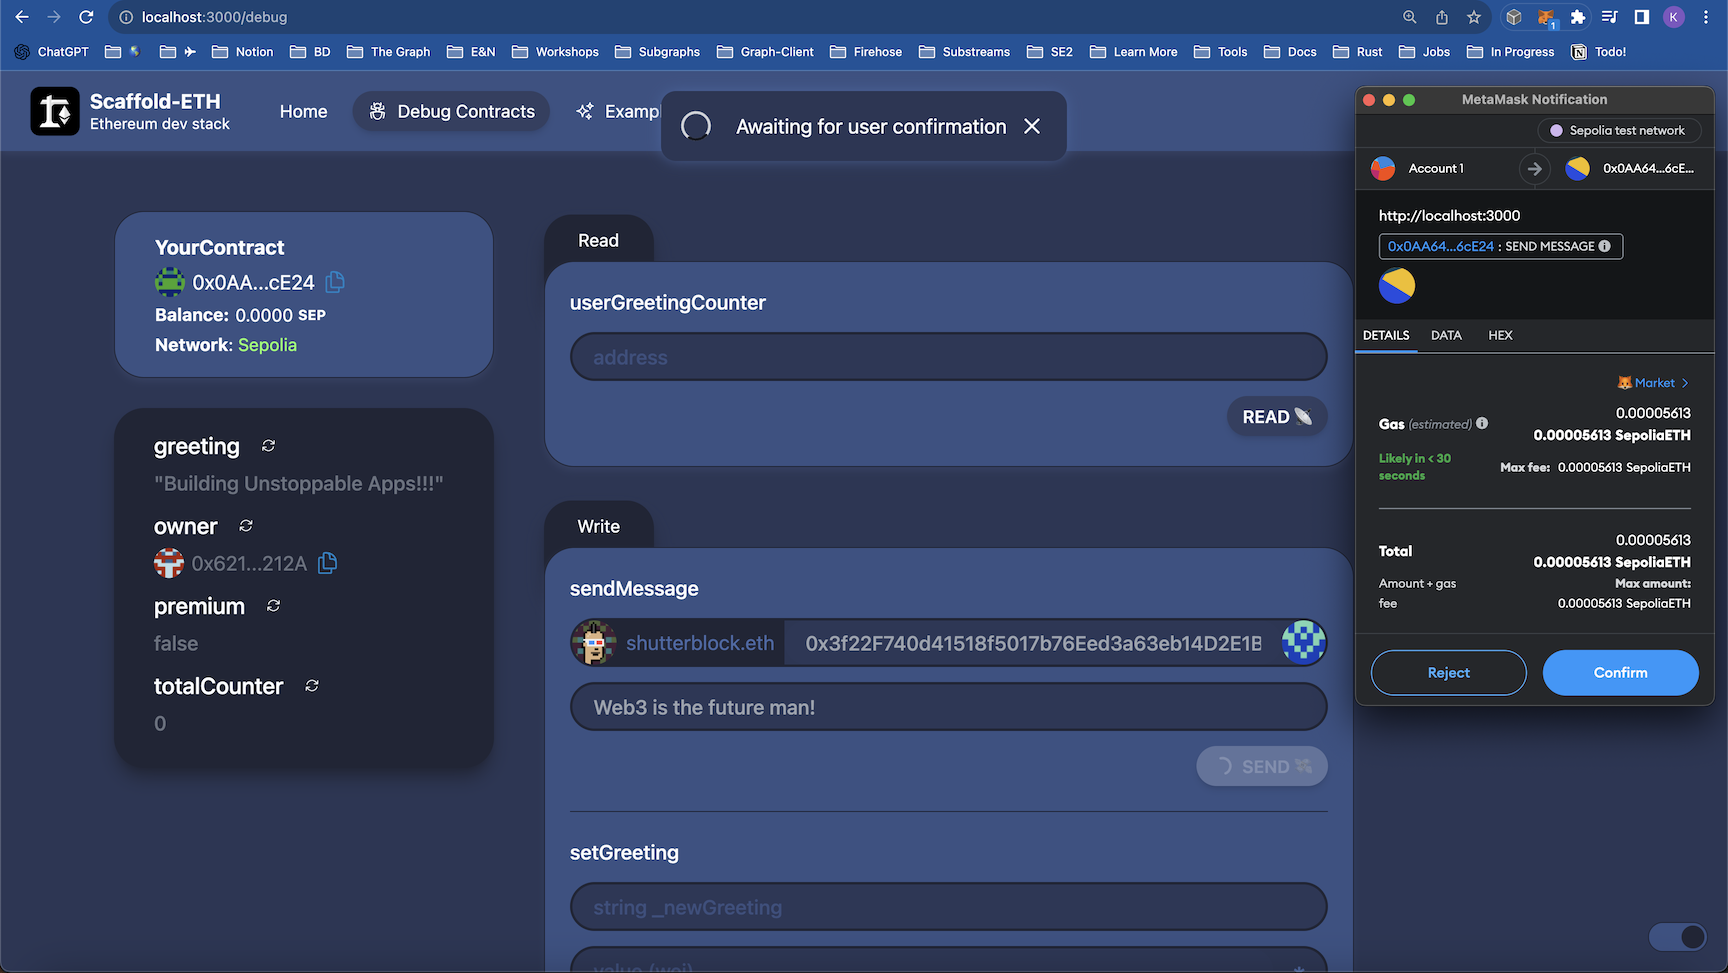
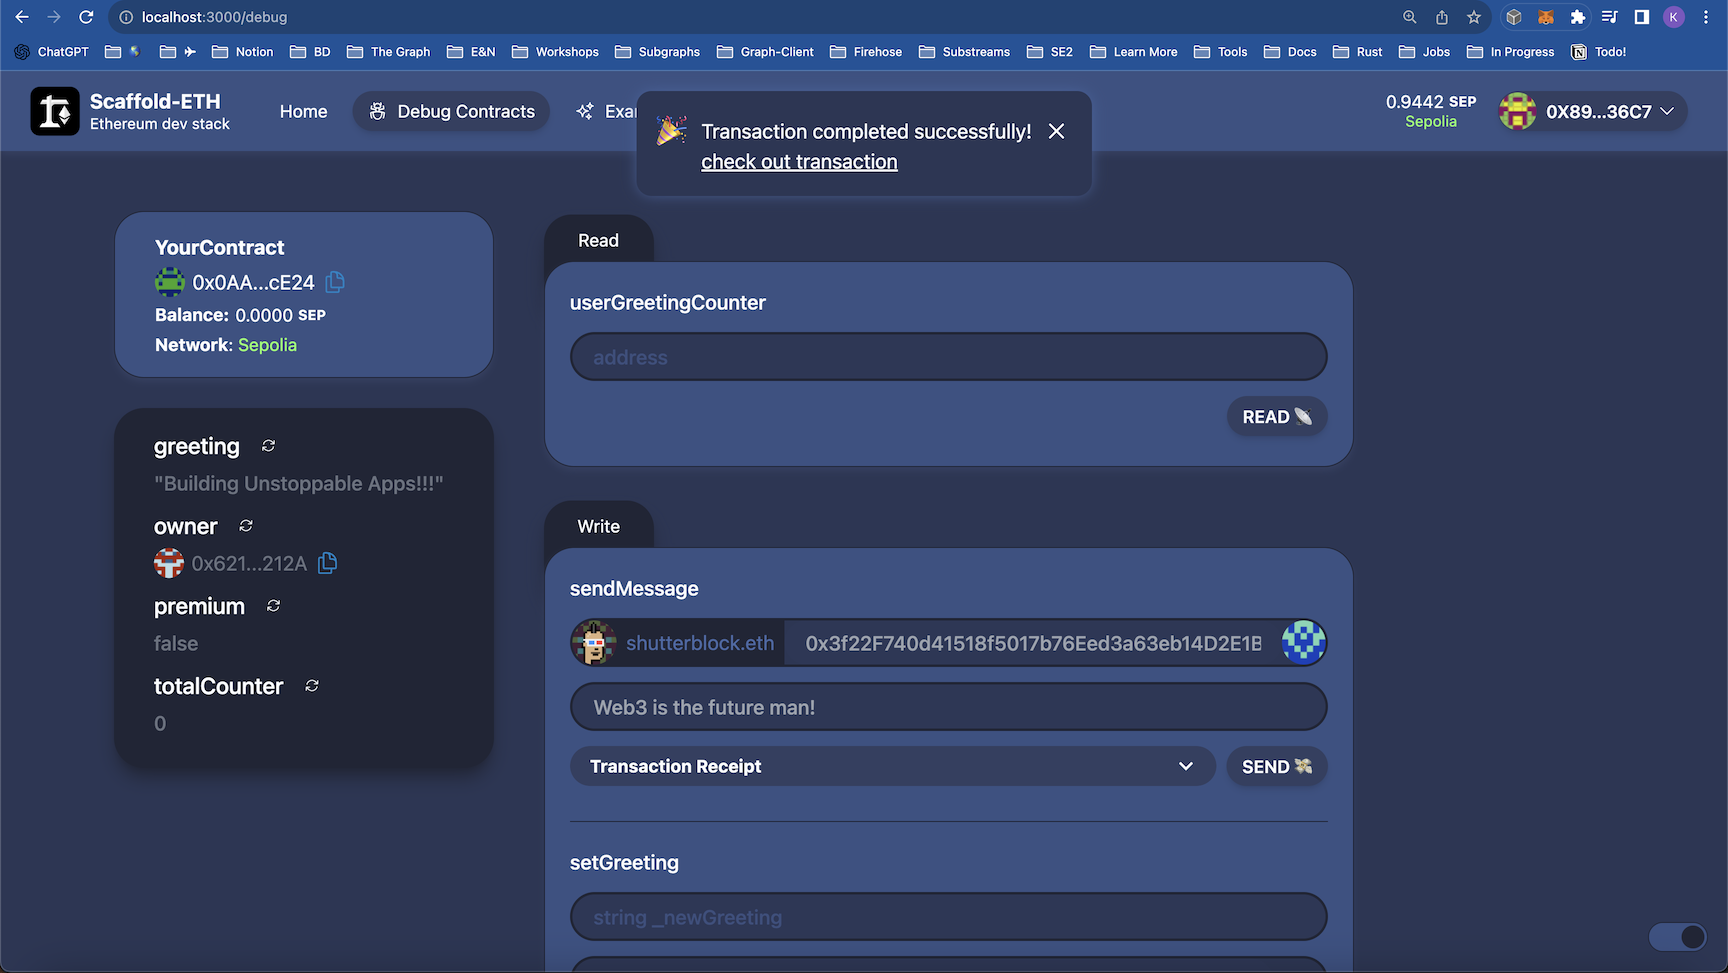
Then check to see if the message was indexed successfully in the studio. You can find the GraphiQL explorer on the "Playground" page.
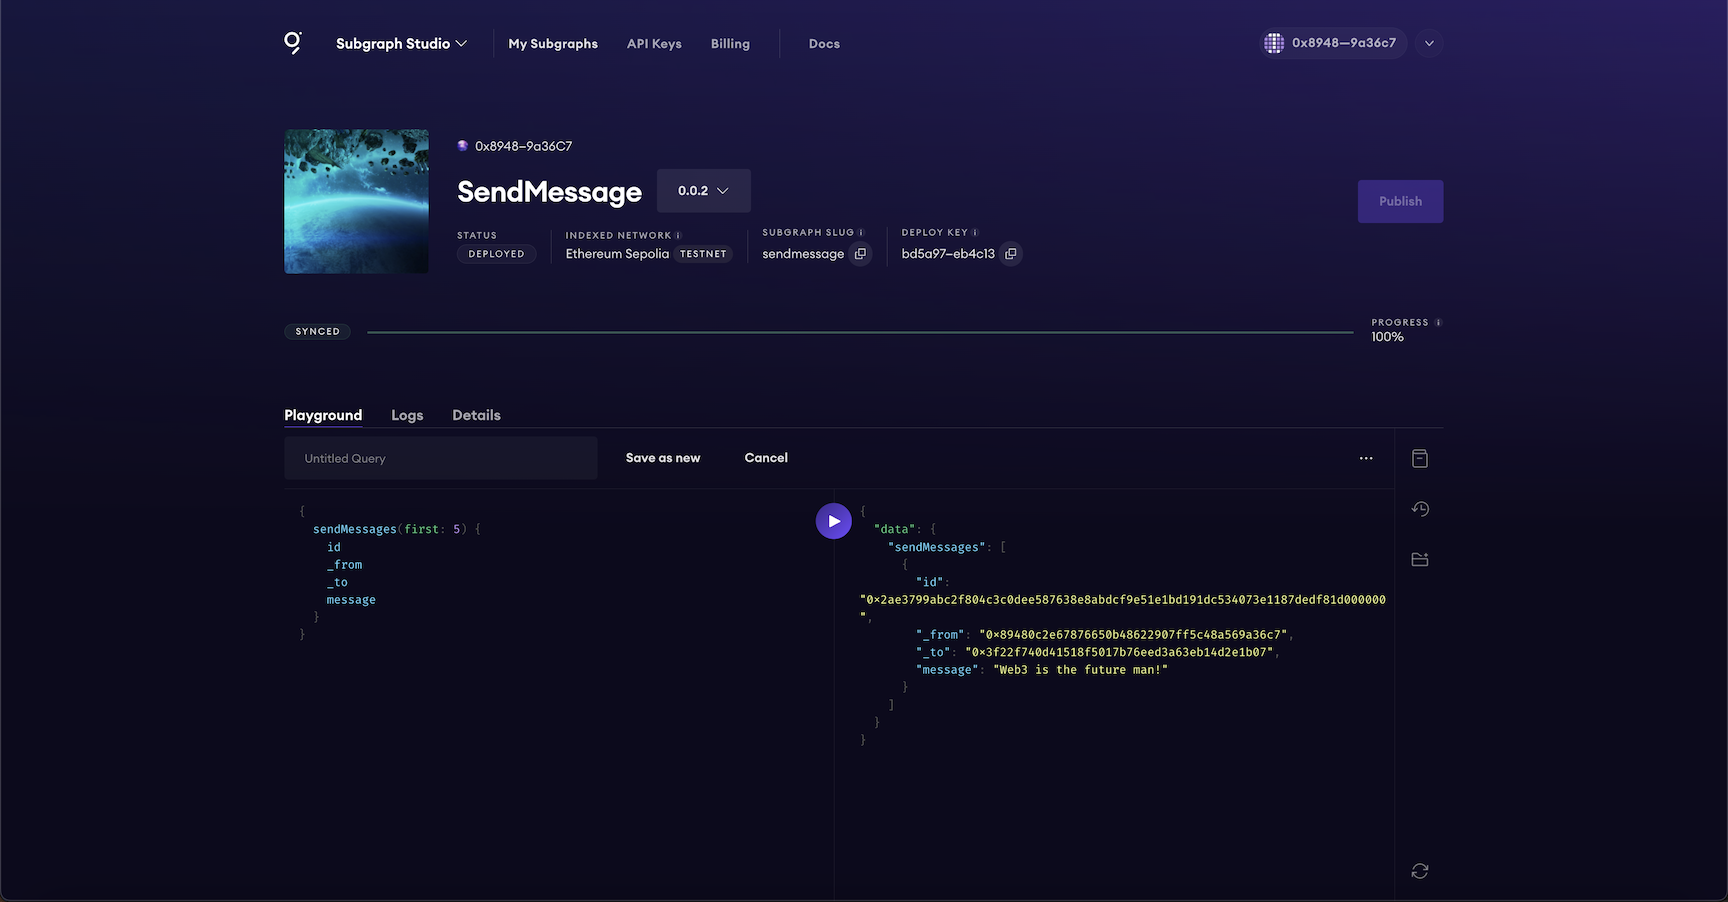
✅ Update our GraphQL URL to point to our development endpoint
The development endpoint for your subgraph can be found on the details tab in Subgraph Studio.
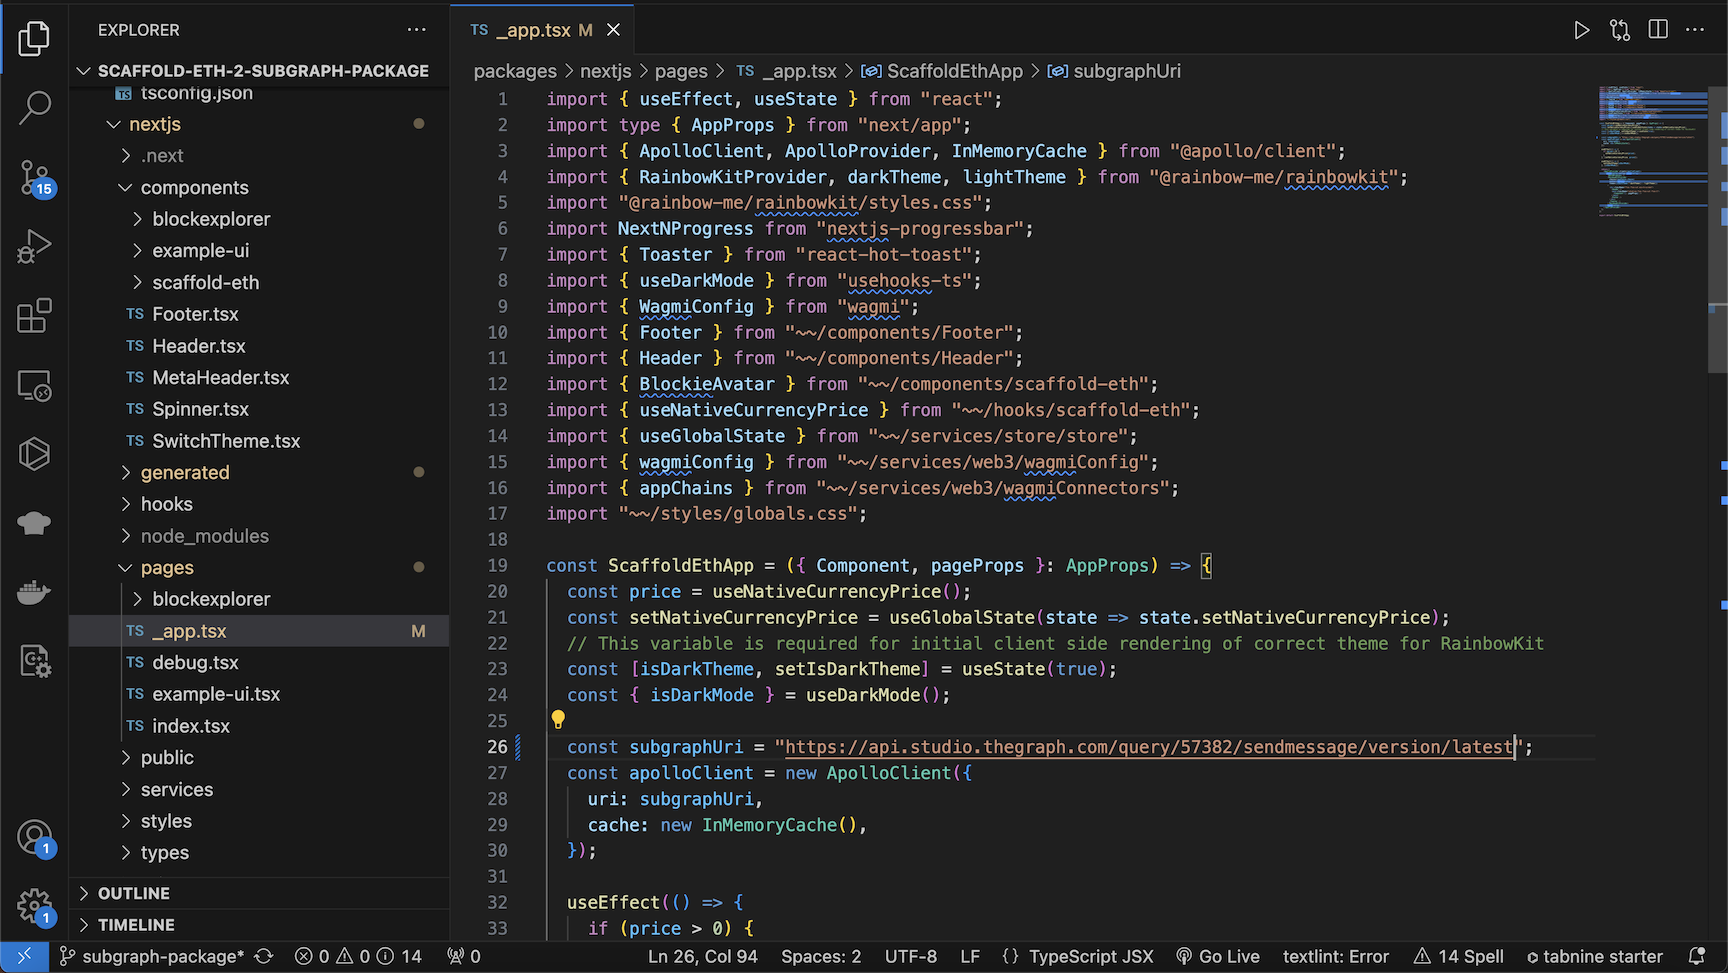
Edit _app.tsx located in packages/nextjs/pages
  const subgraphUri = "https://api.studio.thegraph.com/query/51078/sendmessage-test/version/latest";
  const apolloClient = new ApolloClient({
    uri: subgraphUri,
    cache: new InMemoryCache(),
  });
The change will look something like this:
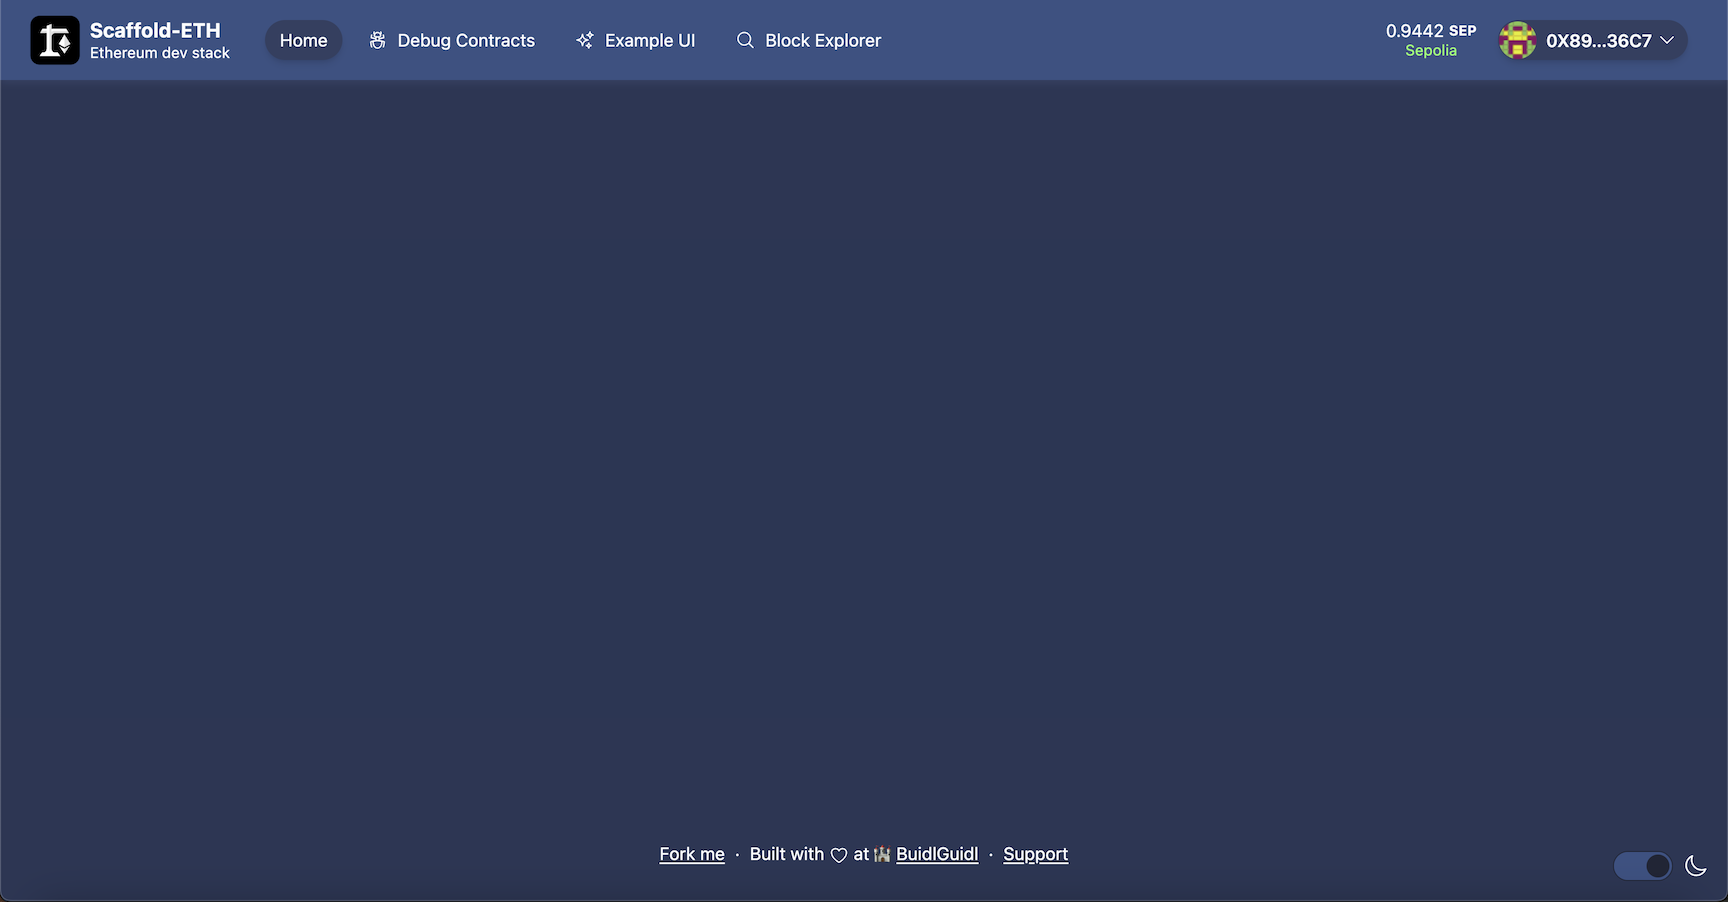
✅ Start with a clean slate in your index.ts file
Let's import everything we will need into our index.ts file. You can also clean out all the info in the return.
this file is located in packages/nextjs/pages
It should look something like this...
import type { NextPage } from "next";
import { MetaHeader } from "~~/components/MetaHeader";

import { gql } from "@apollo/client";
import { useQuery } from "@apollo/client";

const Home: NextPage = () => {
  return (
    <>
      <MetaHeader />
    </>
  );
};

export default Home;
After your change the home directory will look something like this:
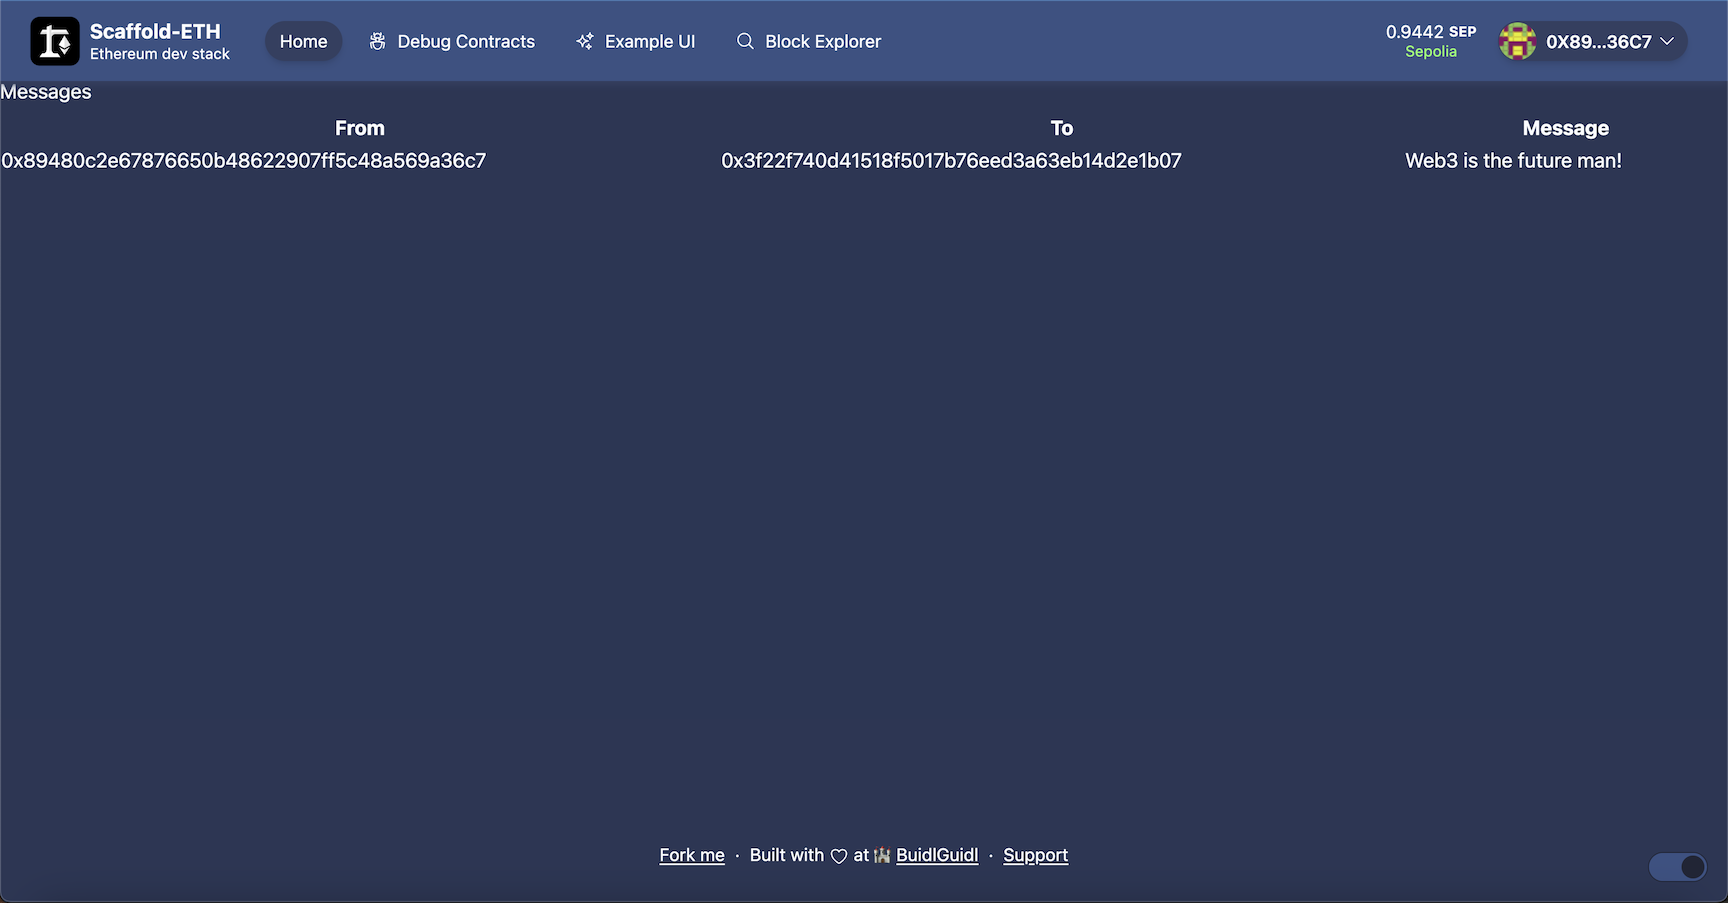
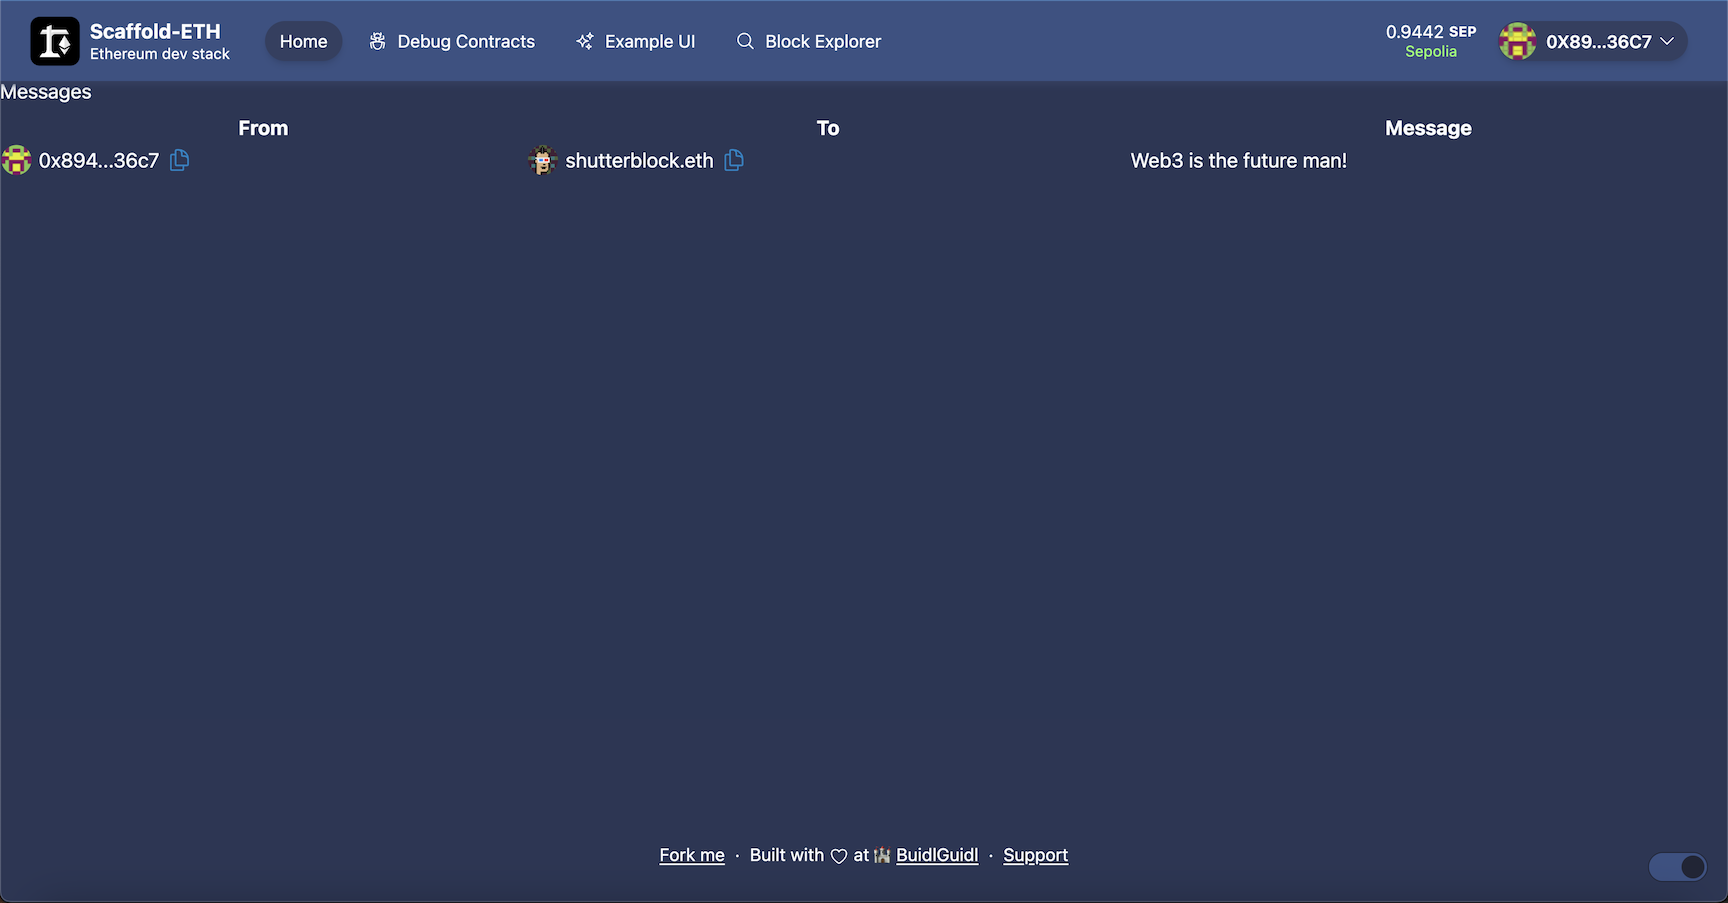
✅ Display our messages in a table format
Lastly a table to display our messages.
        <h1>Messages</h1>
        <table className="min-w-[70%]">
          <thead>
            <tr>
              <th>From</th>
              <th>To</th>
              <th>Message</th>
            </tr>
          </thead>
          <tbody>
            {messages.map((message) => (
              <tr key={message.id}>
                <td>{message._from}</td>
                <td>{message._to}</td>
                <td>{message.message}</td>
              </tr>
            ))}
          </tbody>
        </table>
We should create a const with our GraphQL query outside of the main function.
export const GET_MESSAGES = gql`
{
  sendMessages(first: 5) {
    id
    _from
    _to
    message
  }
}
`;
And then load the data like so...
  const { loading, error, data: messagesData } = useQuery(GET_MESSAGES);

  const messages = messagesData?.sendMessages || [];
We can then make this a bit prettier and use the <Address> component instead of just plain text.
First, import the Address component.
import { Address } from "~~/components/scaffold-eth";
Then, update the table to display the message as follows.
              <tr key={message.id}>
                <td><Address address={message._from}/></td>
                <td><Address address={message._to}/></td>
                <td>{message.message}</td>
              </tr>
This will look a lot nicer than those long strings! :D
Note: If you want to see the full complete file you can do so here!