lesson-5_Graph CLI
Graph CLI
✅ Deploy your subgraph using the CLI
✅ Use the Graph CLI to complete the deployment
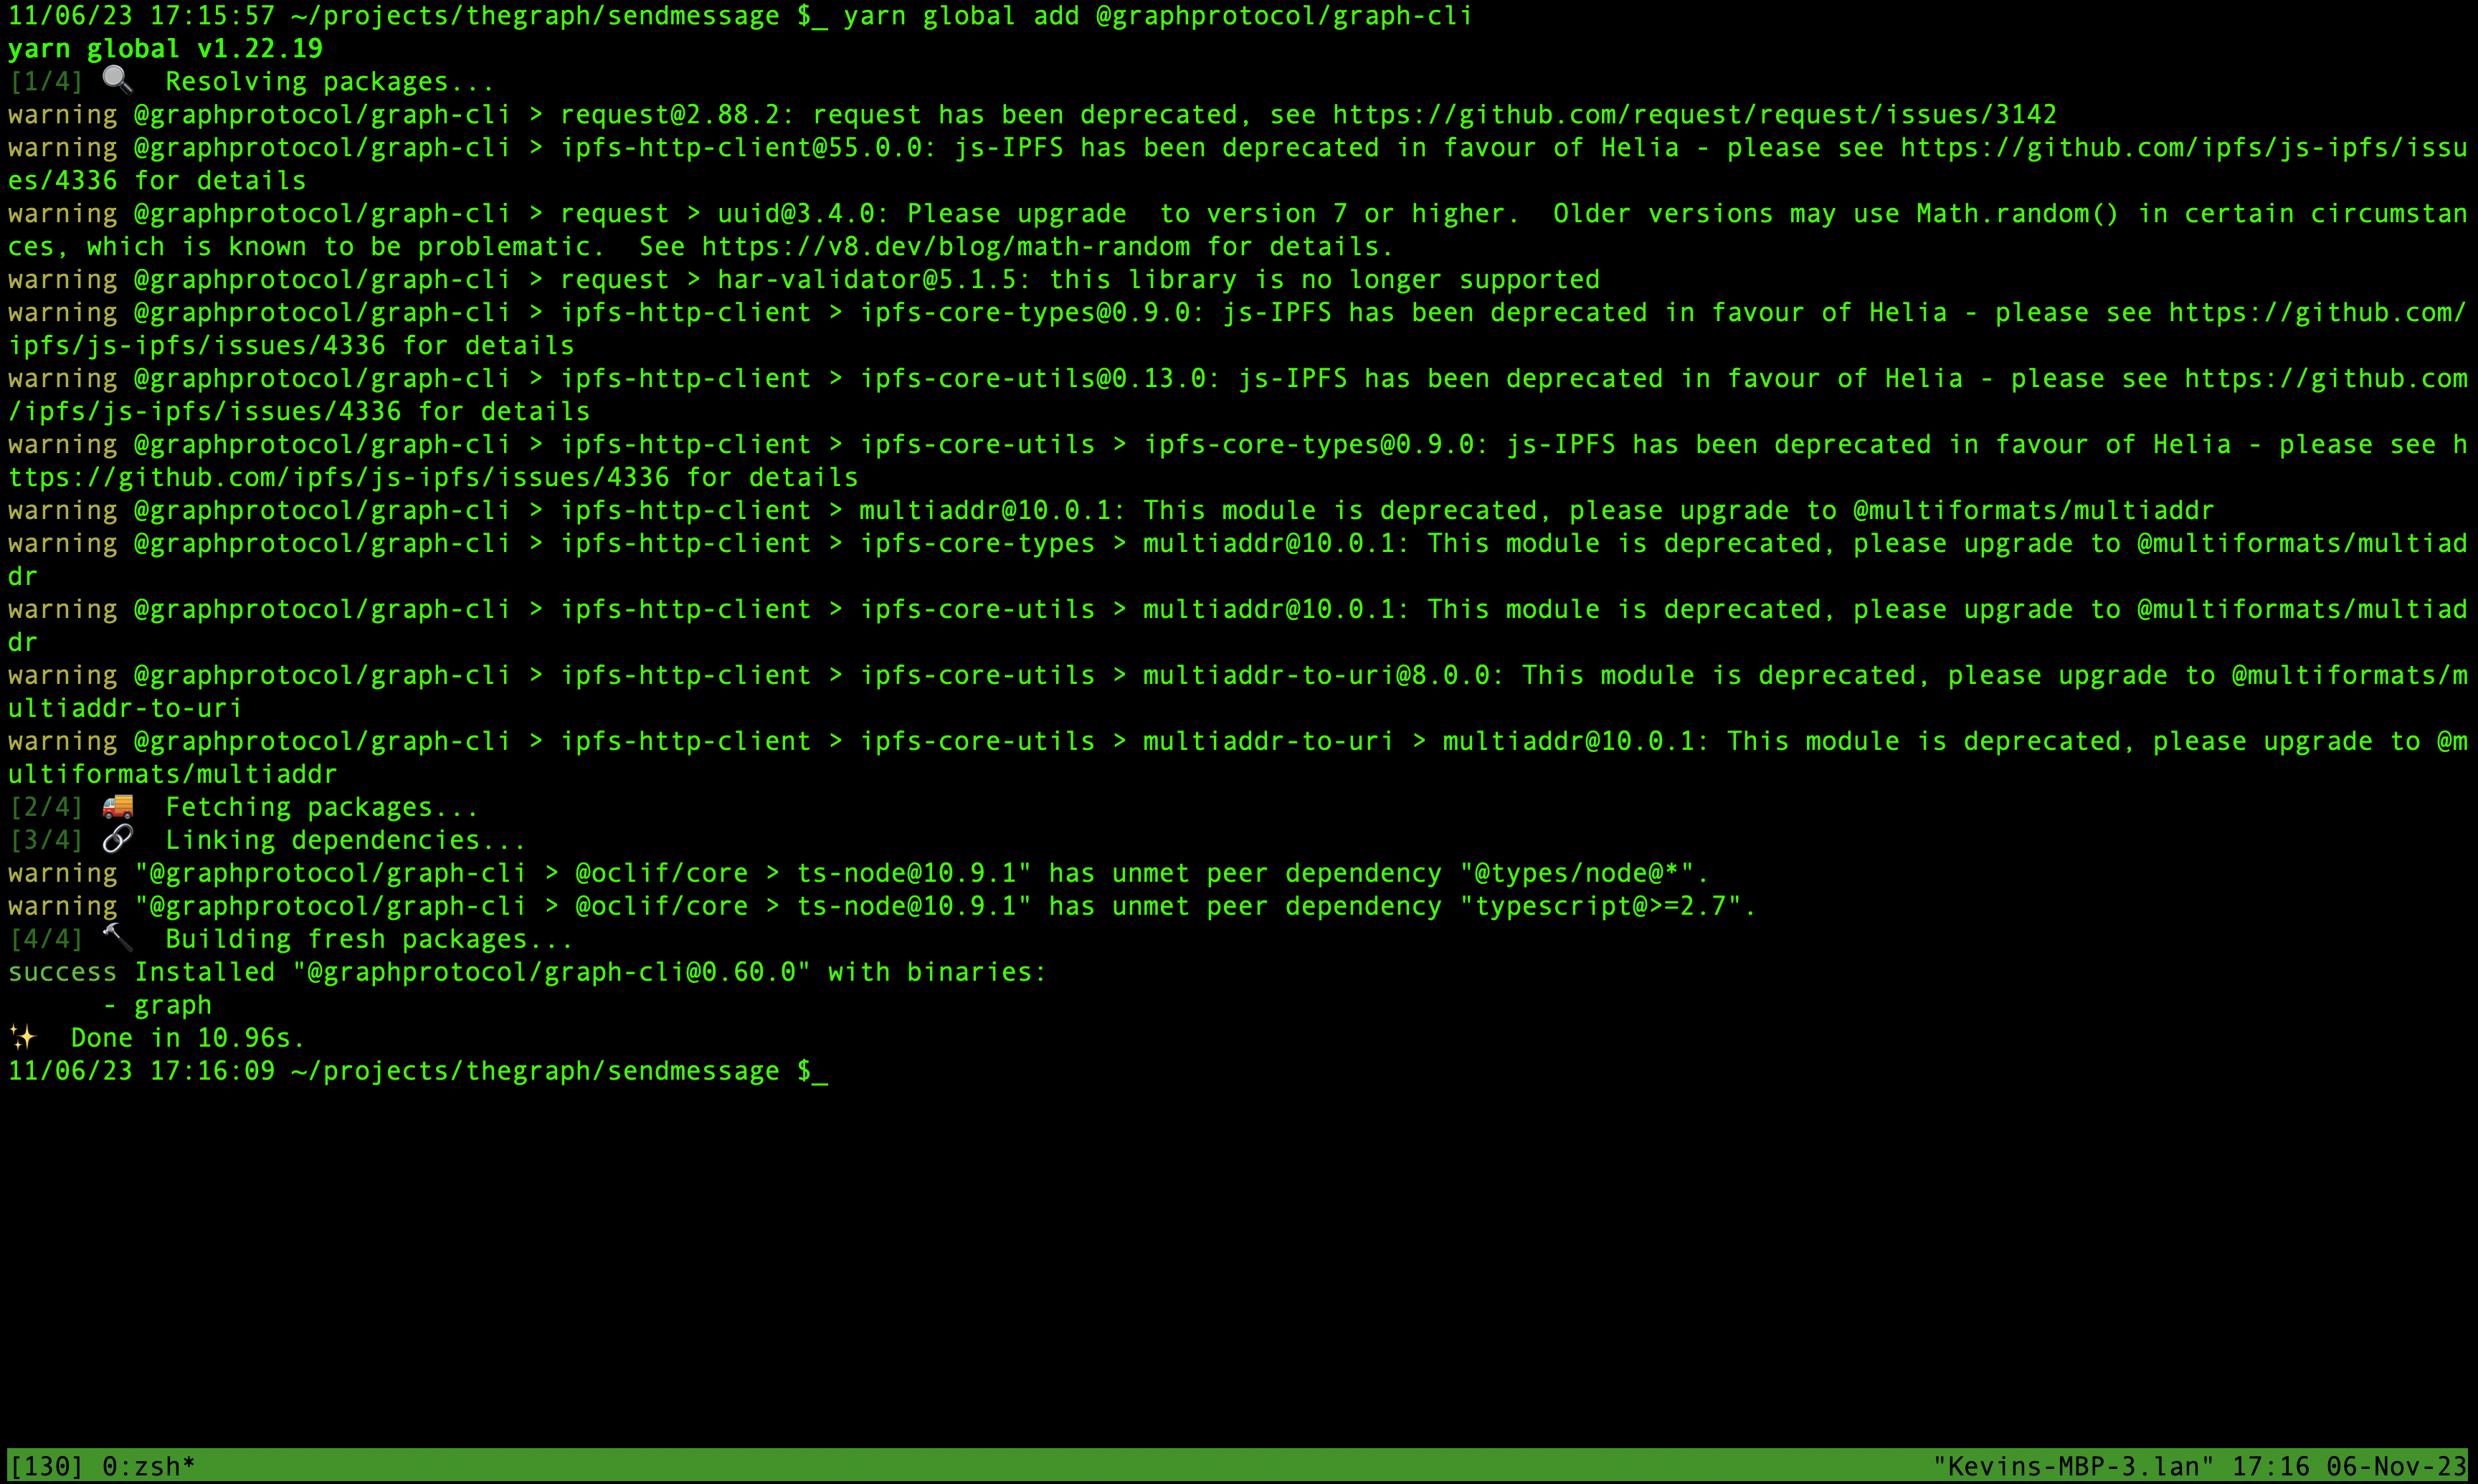
You can install the Graph CLI globally using the following command.
curl -LS https://cli.thegraph.com/install.sh | sudo sh
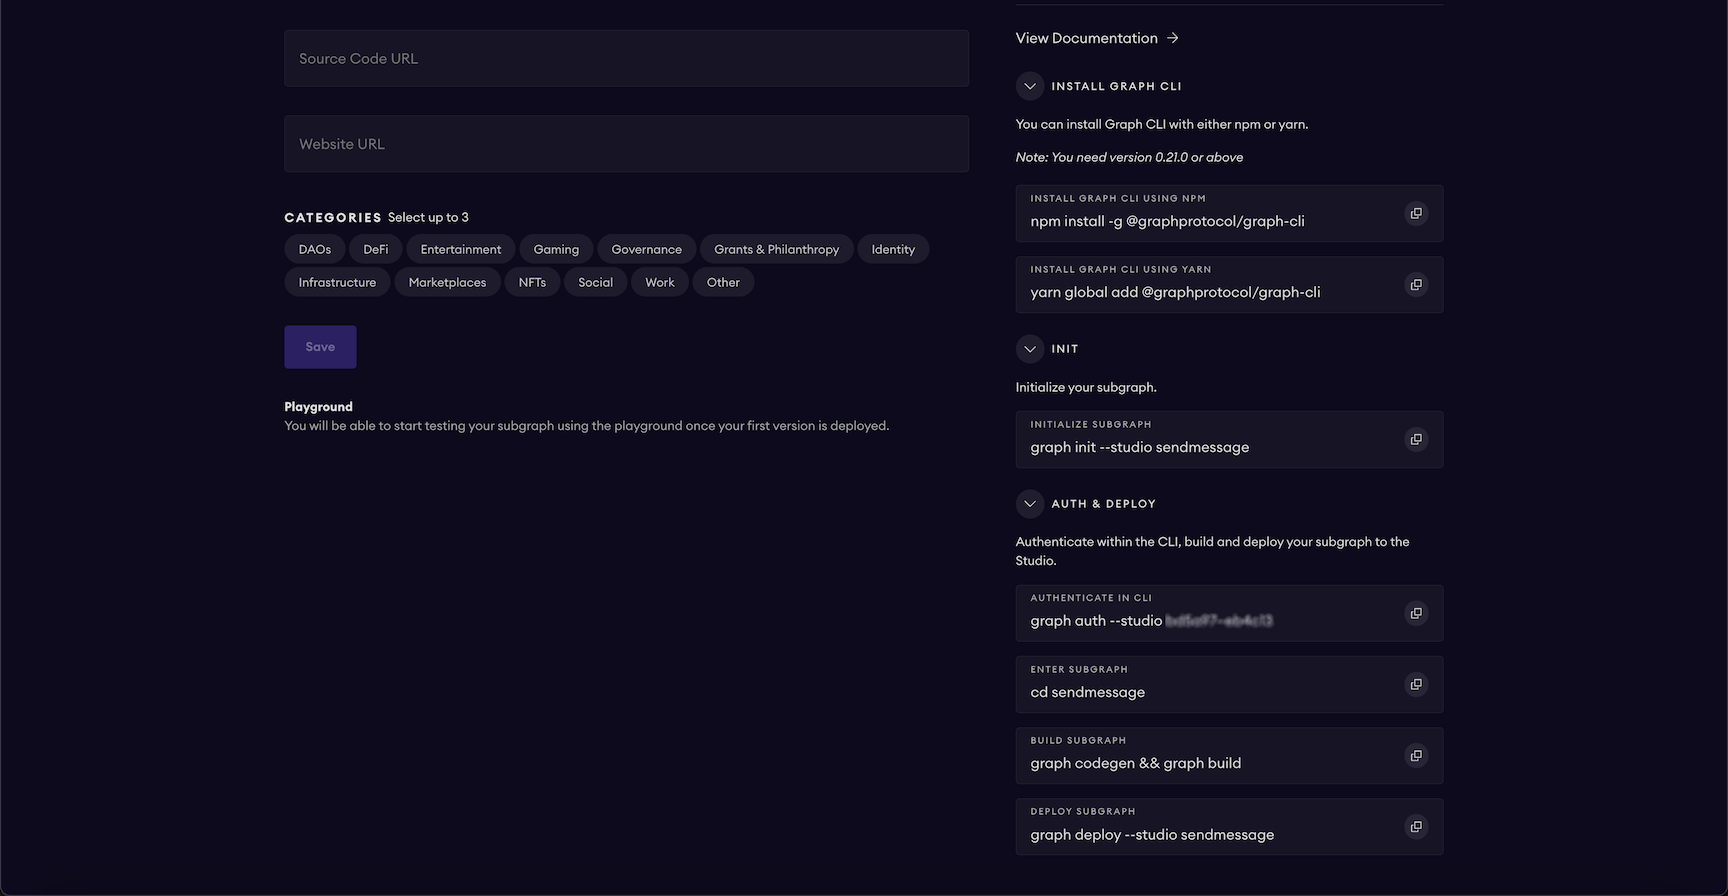
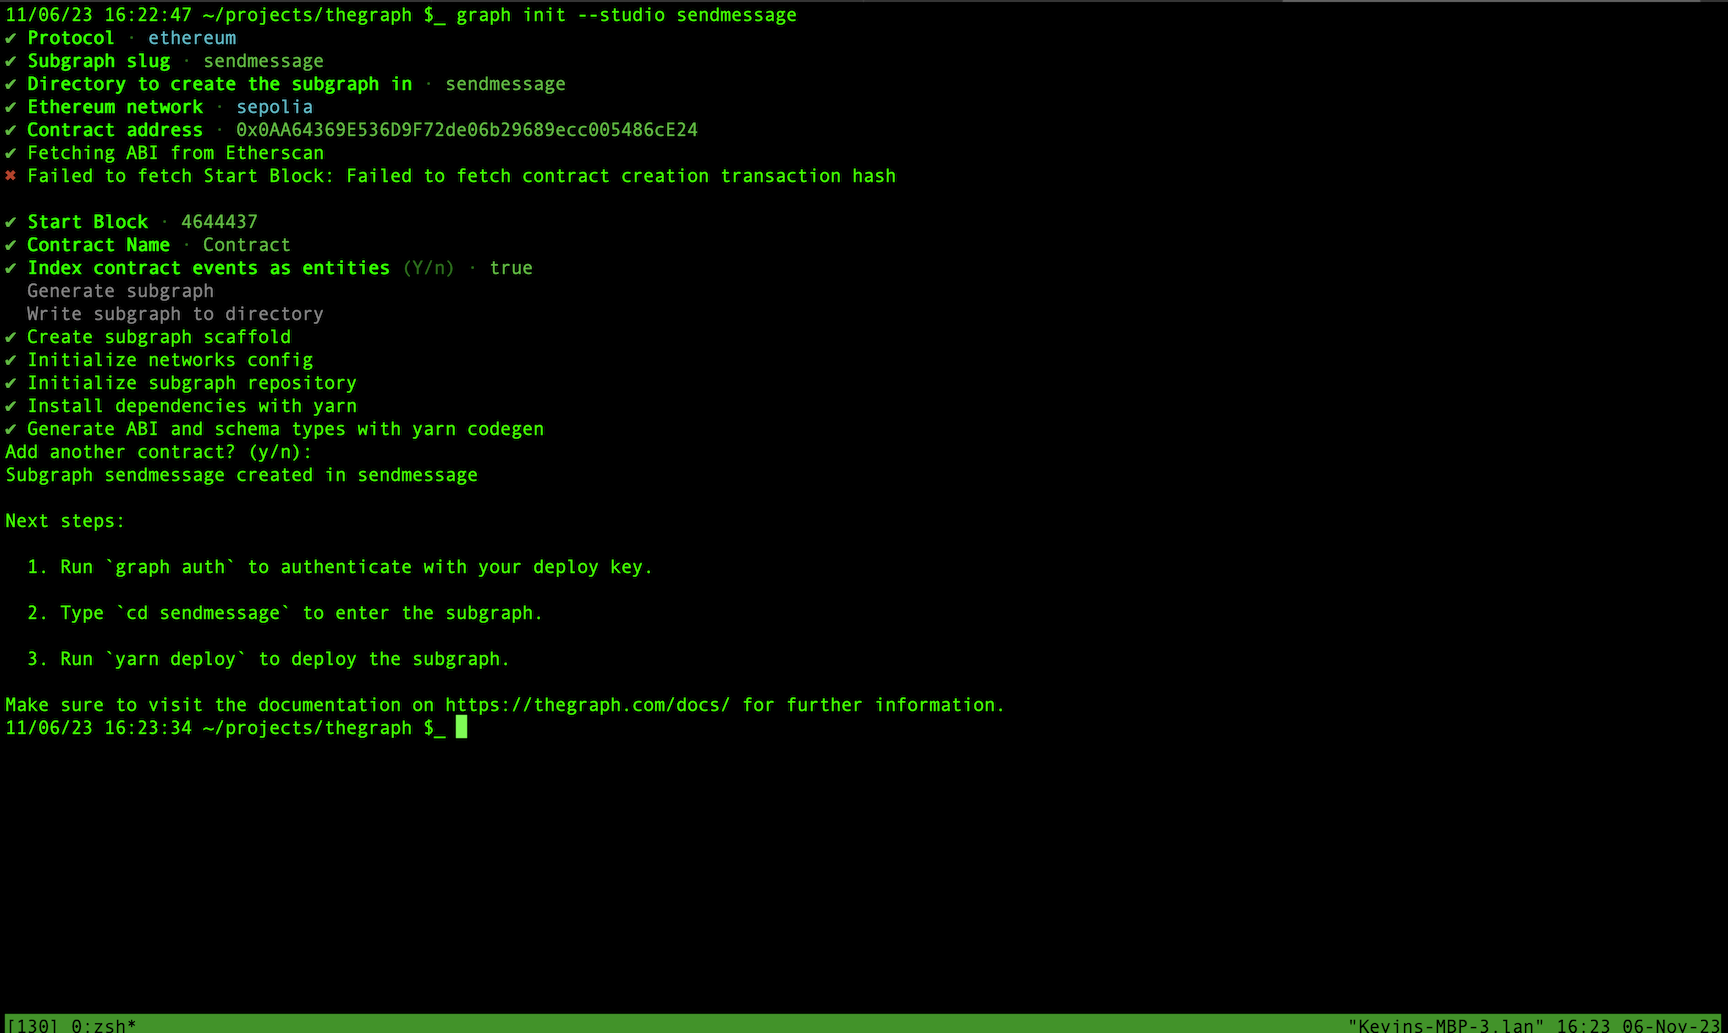
✅ Init your Subgraph
This can be done in a separate folder of your choosing, since it will initiate a yarn package. You will need to fill in the required configuration during the initialization process.The Start Block - Can be found on Etherescan if needed so you don't have to index the entire previous blocks.
graph init --studio name_of_your_subgraph
It should looks something like this...
✅ Authenticate to Studio
Grab your authentication string from Auth & Deploy on Subgraph Studio.
graph auth --studio auth_key_here
Success looks like this:
Deploy key set for https://api.studio.thegraph.com/deploy/
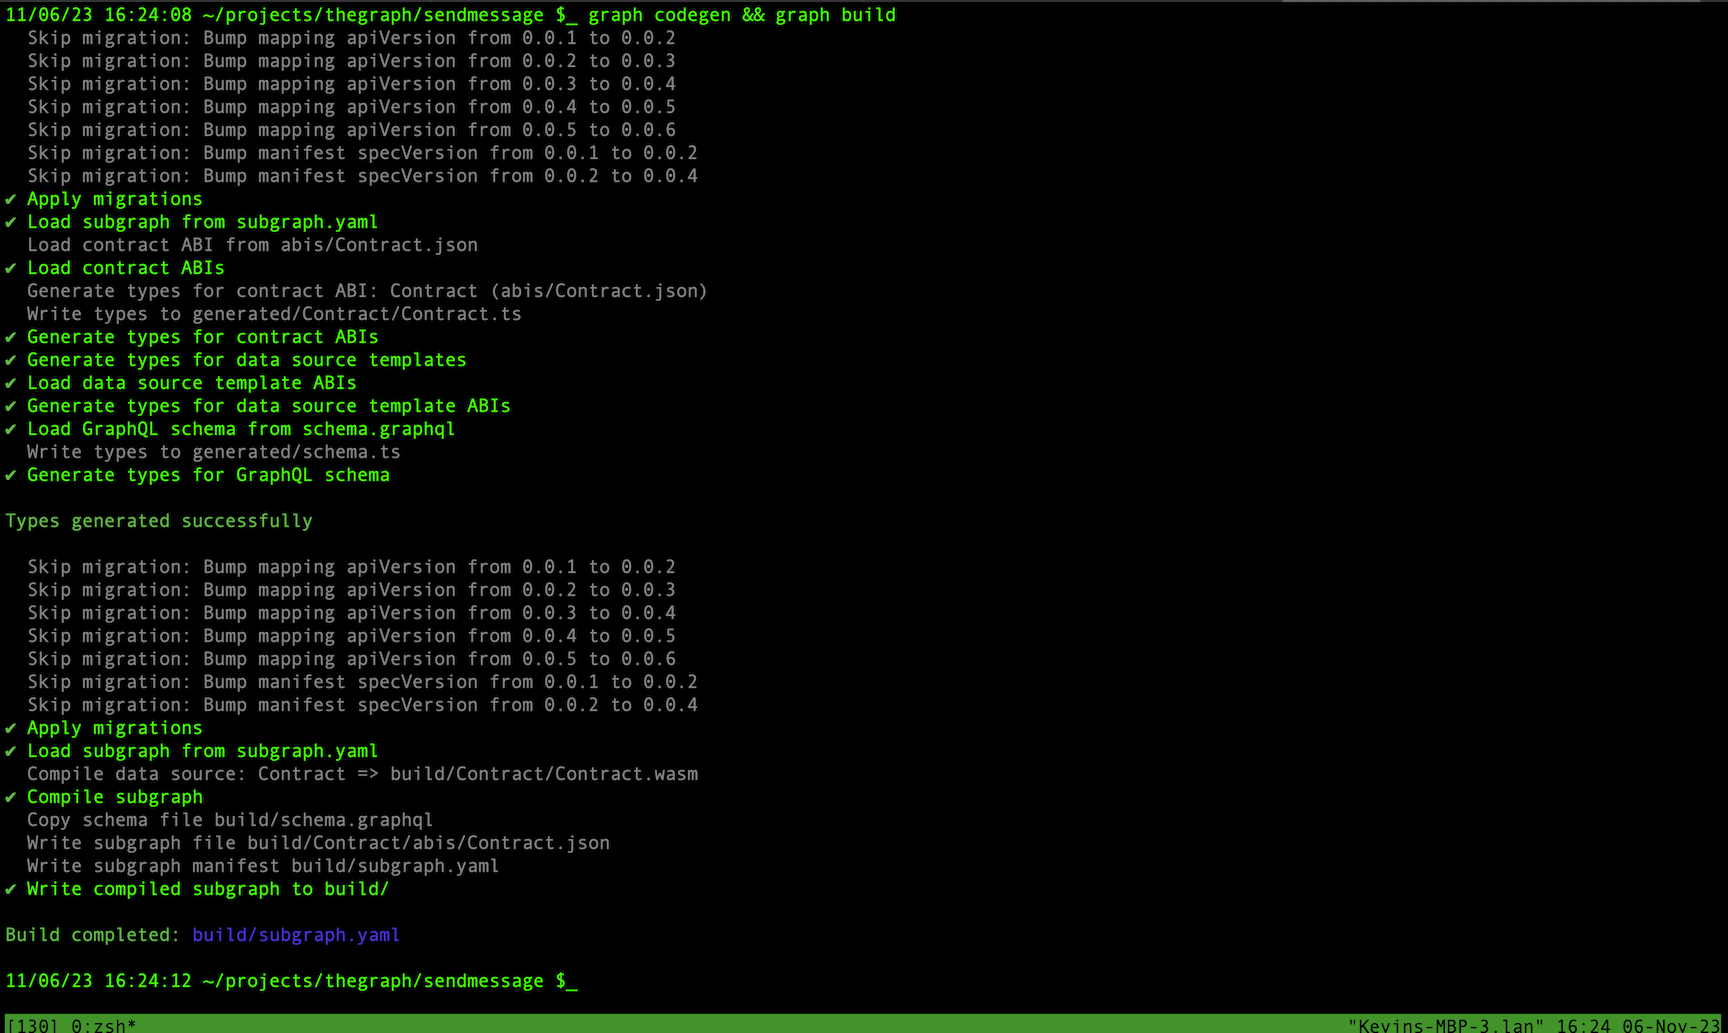
✅ Run codegen and build your subgraph
You will need to change into the directory where the subgraph was created in the previous step.
cd sendmessage
graph codegen && graph build
Success will look something like the following!
✅ Deploy
Now we are ready to deploy to the Studio
graph deploy --studio name_of_your_subgraph
Choose a version and fire away!
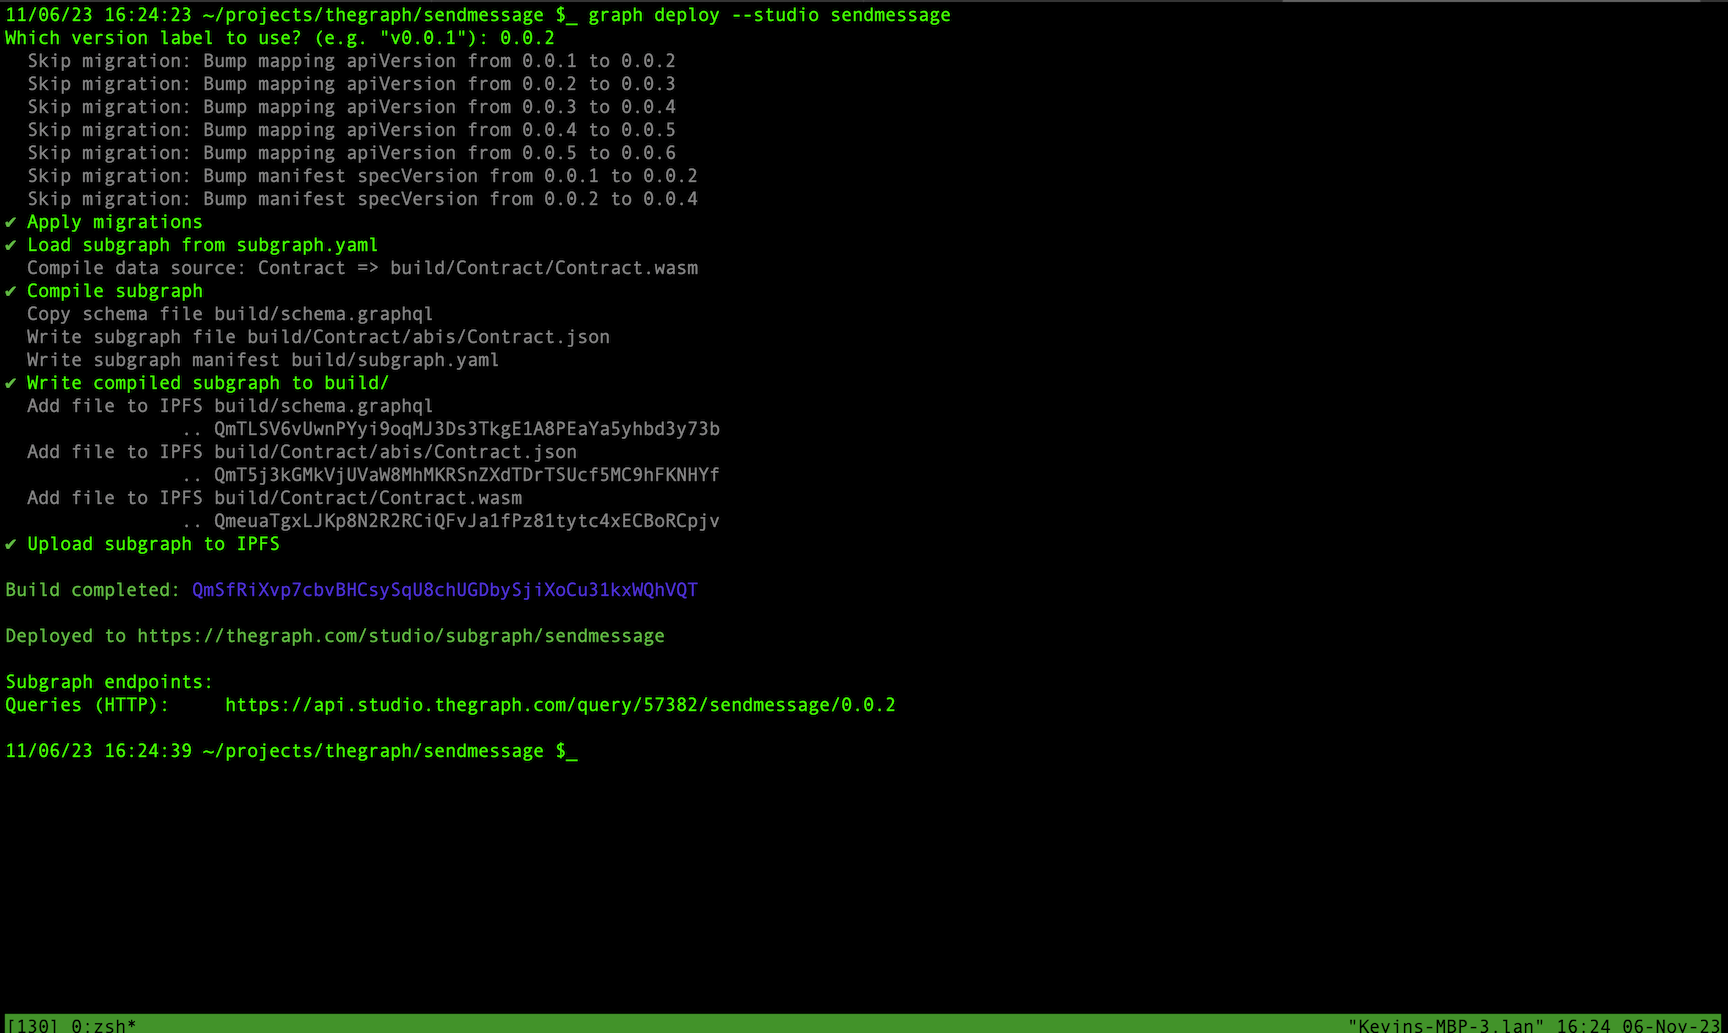
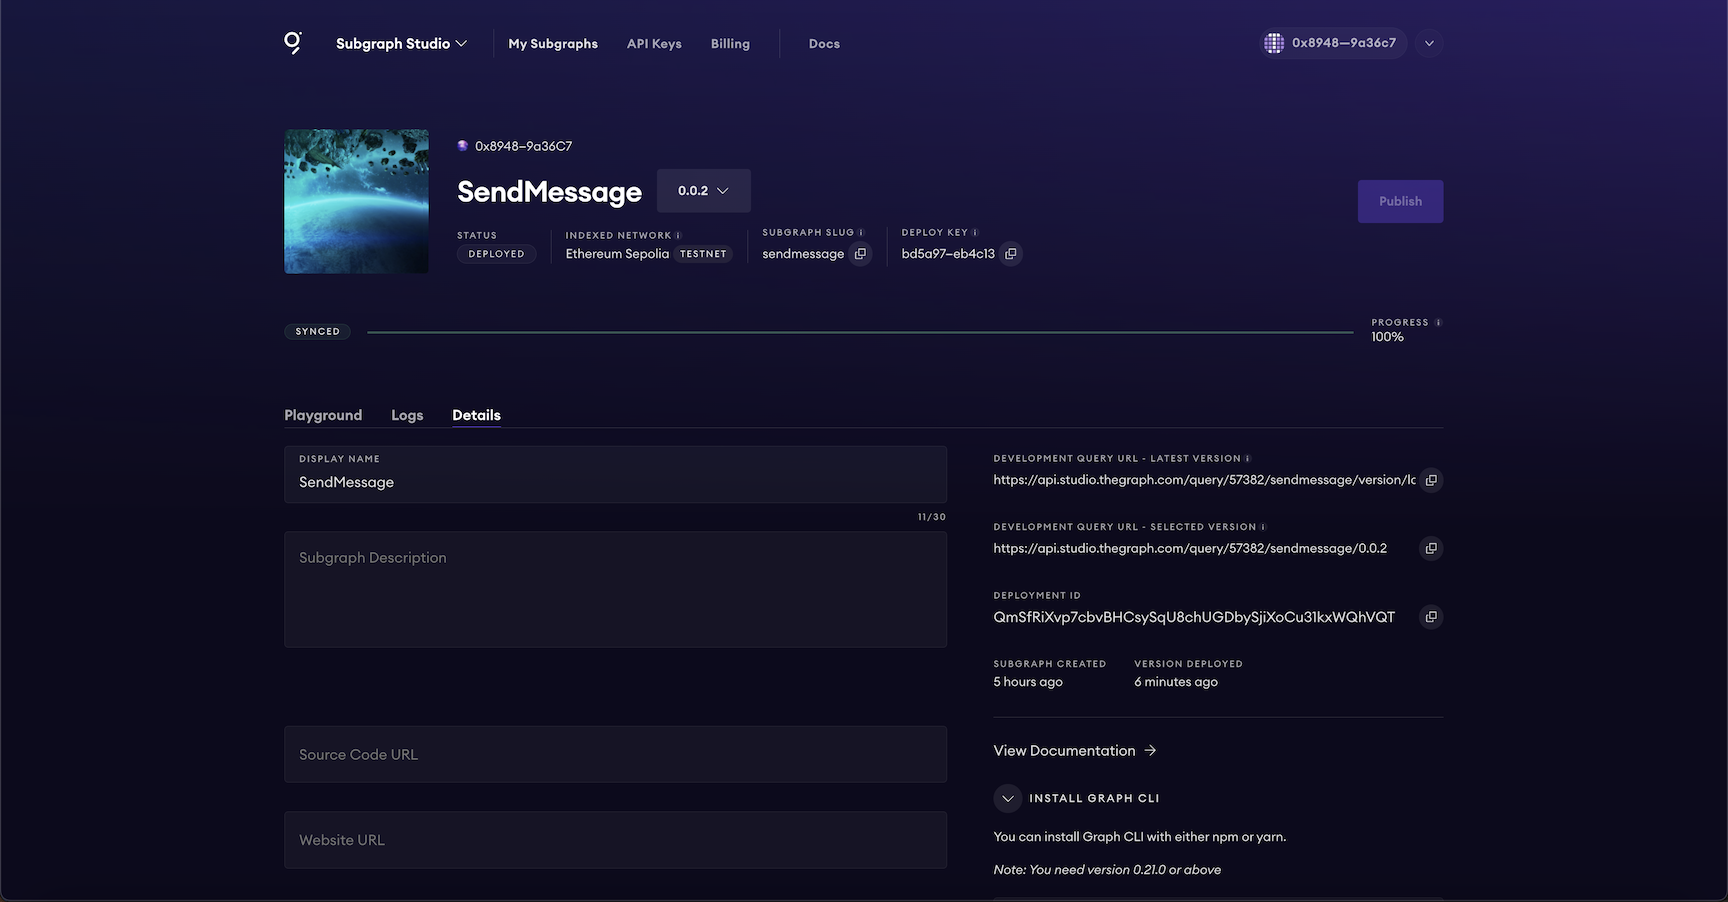
It might take up to 5 minutes for you subgraph to deploy to the studio. Once it has been deployed, you can check that is fully syncing and has no errors. A successful deploy will look like the following.
✅ Send a transaction and verify in Subgraph Playground
On Etherscan you can send a transaction directly to your contract on the Contract -> Write Contract tab.
Our Query:
{
  sendMessages(first: 5) {
    id
    _from
    _to
    message
  }
}
Our data object response:
{
  "data": {
    "sendMessages": [
      {
        "id": "0x053e32f85f9f485334119585abfc73e507a4ce86e968130b90410df70eb3a66e71000000",
        "_from": "0x142cd5d7ac1ea8919f1644af1870792b9f77d44a",
        "_to": "0x007e483cf6df009db5ec571270b454764d954d95",
        "message": "I love you"
      }
    ]
  }
}